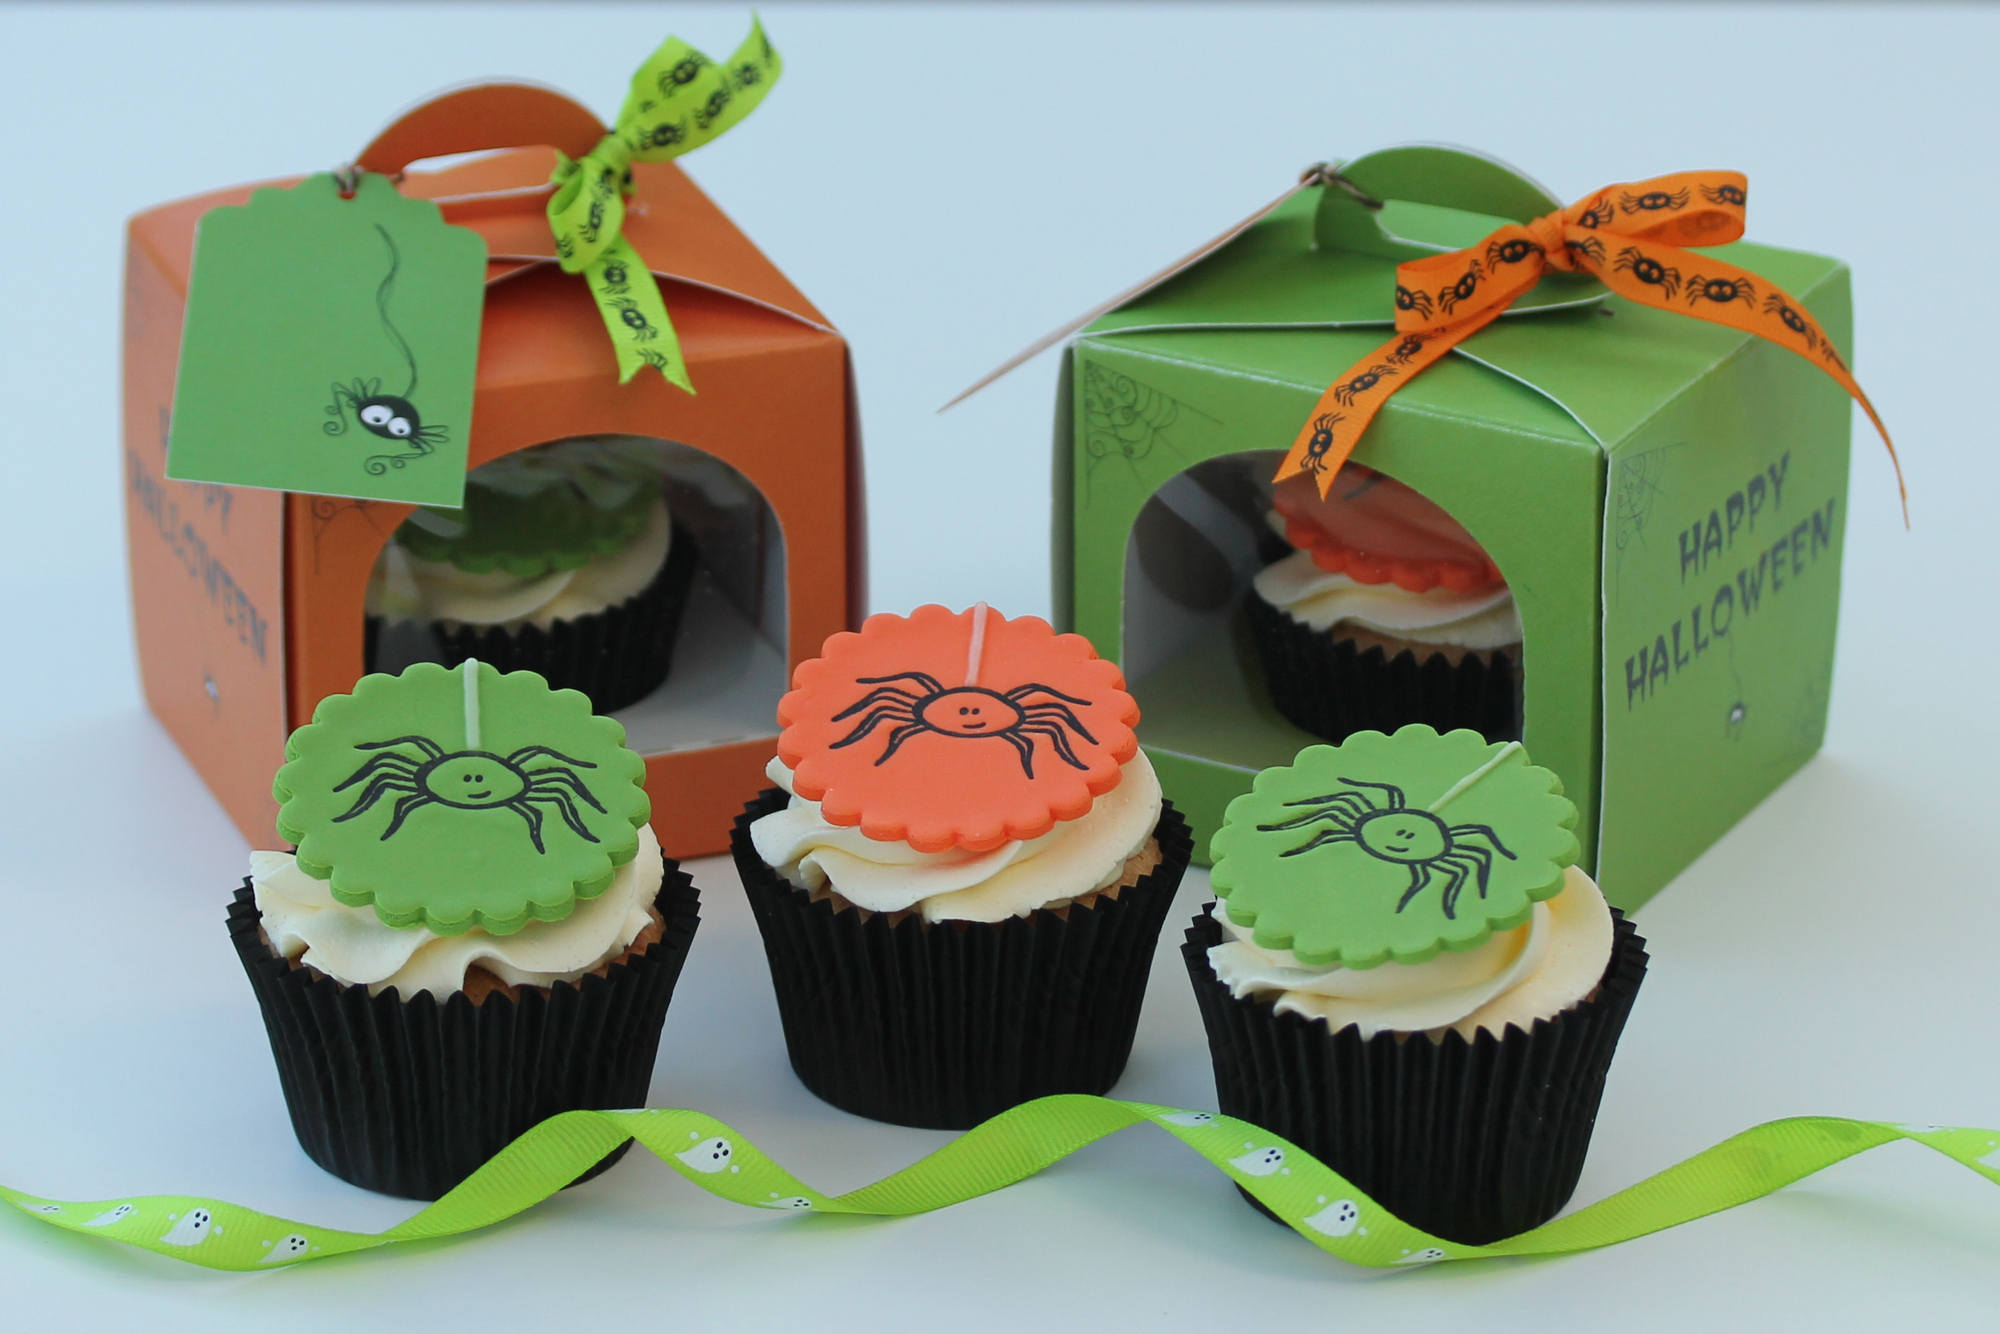
Halloween Spider Cupcakes
Posted on
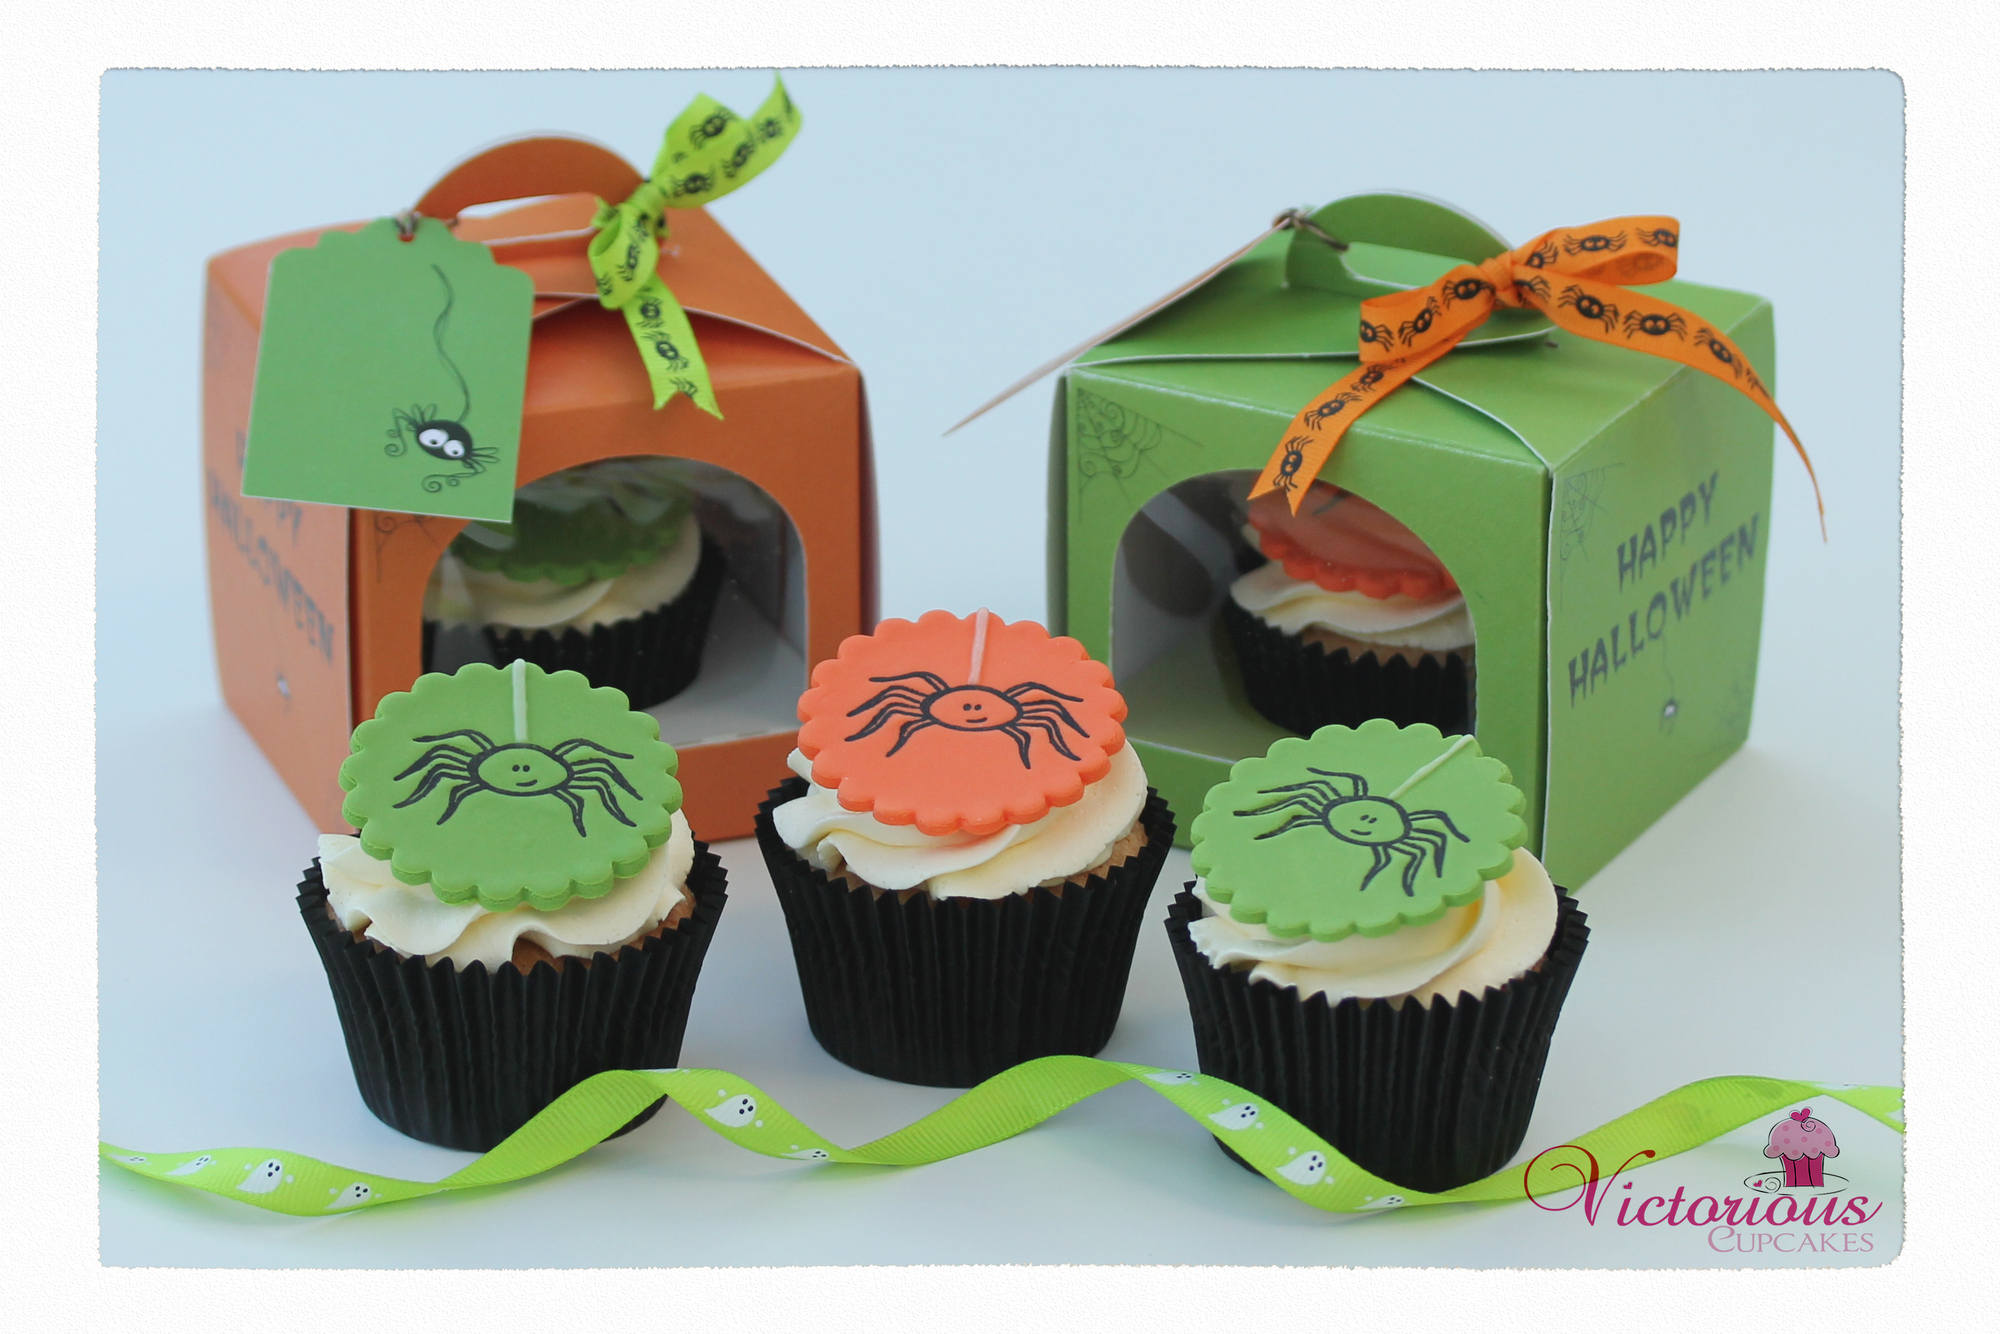
Step by step tutorial on how to make these fab spider cupcakes, perfect for a Halloween party!
Presented in our Halloween packaging that can be purchased in our shop.
Embellishments are also available!
These cupcakes are created by the wonderful and talented Victorious Cupcakes.
Step one:
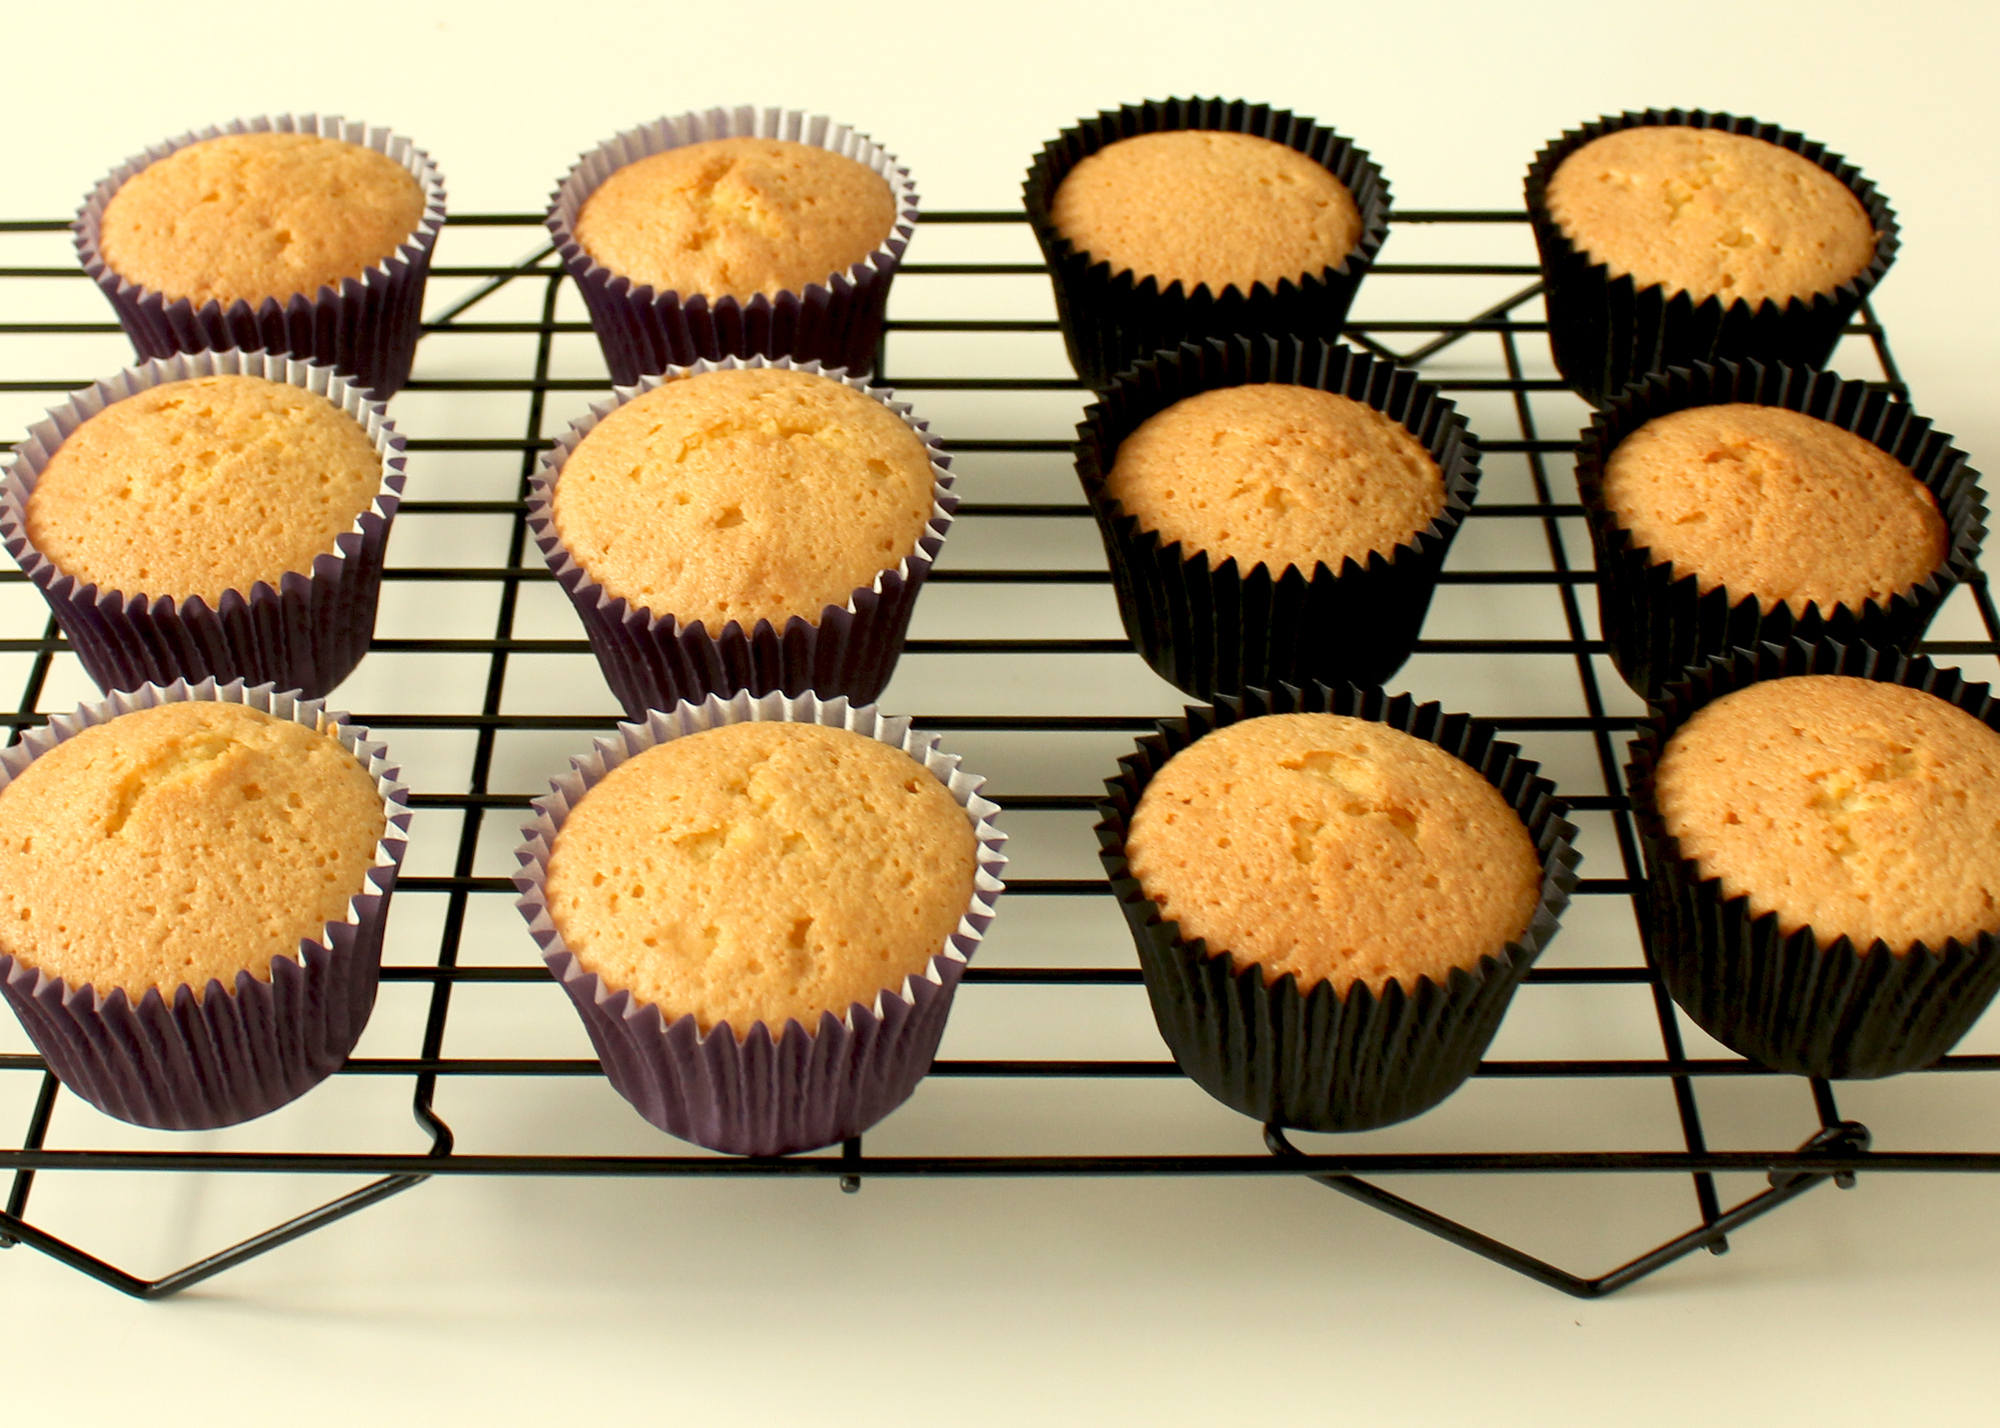
Bake some basic vanilla cupcakes and allow to cool before filling the middle with jam (see step eleven).
Step two:
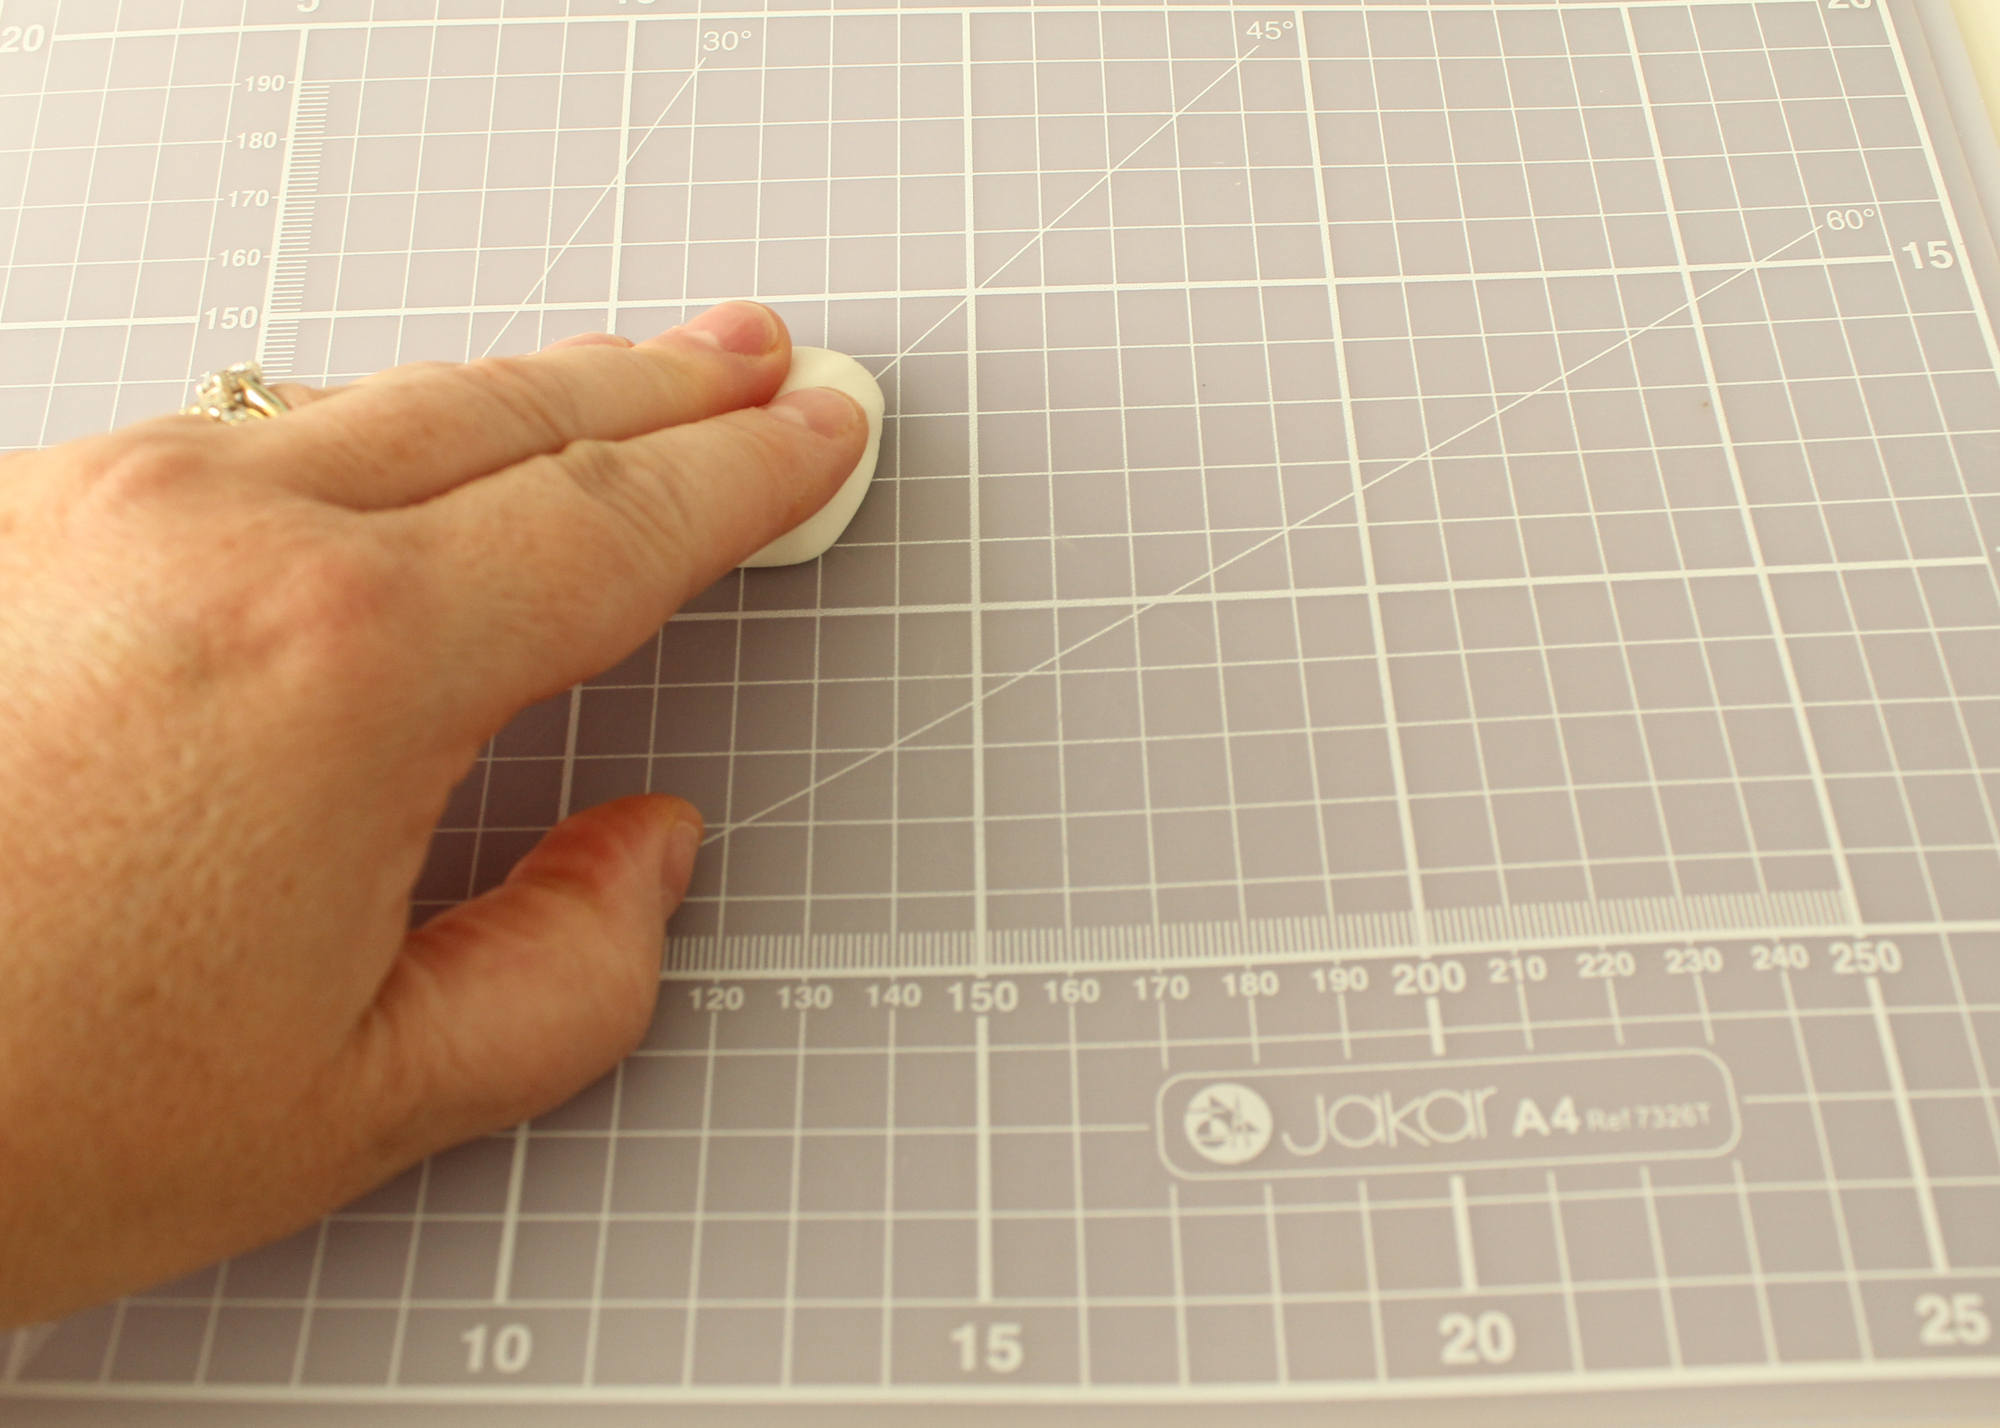
Soften some modeling paste, kneading the paste with your fingers.
Step three:
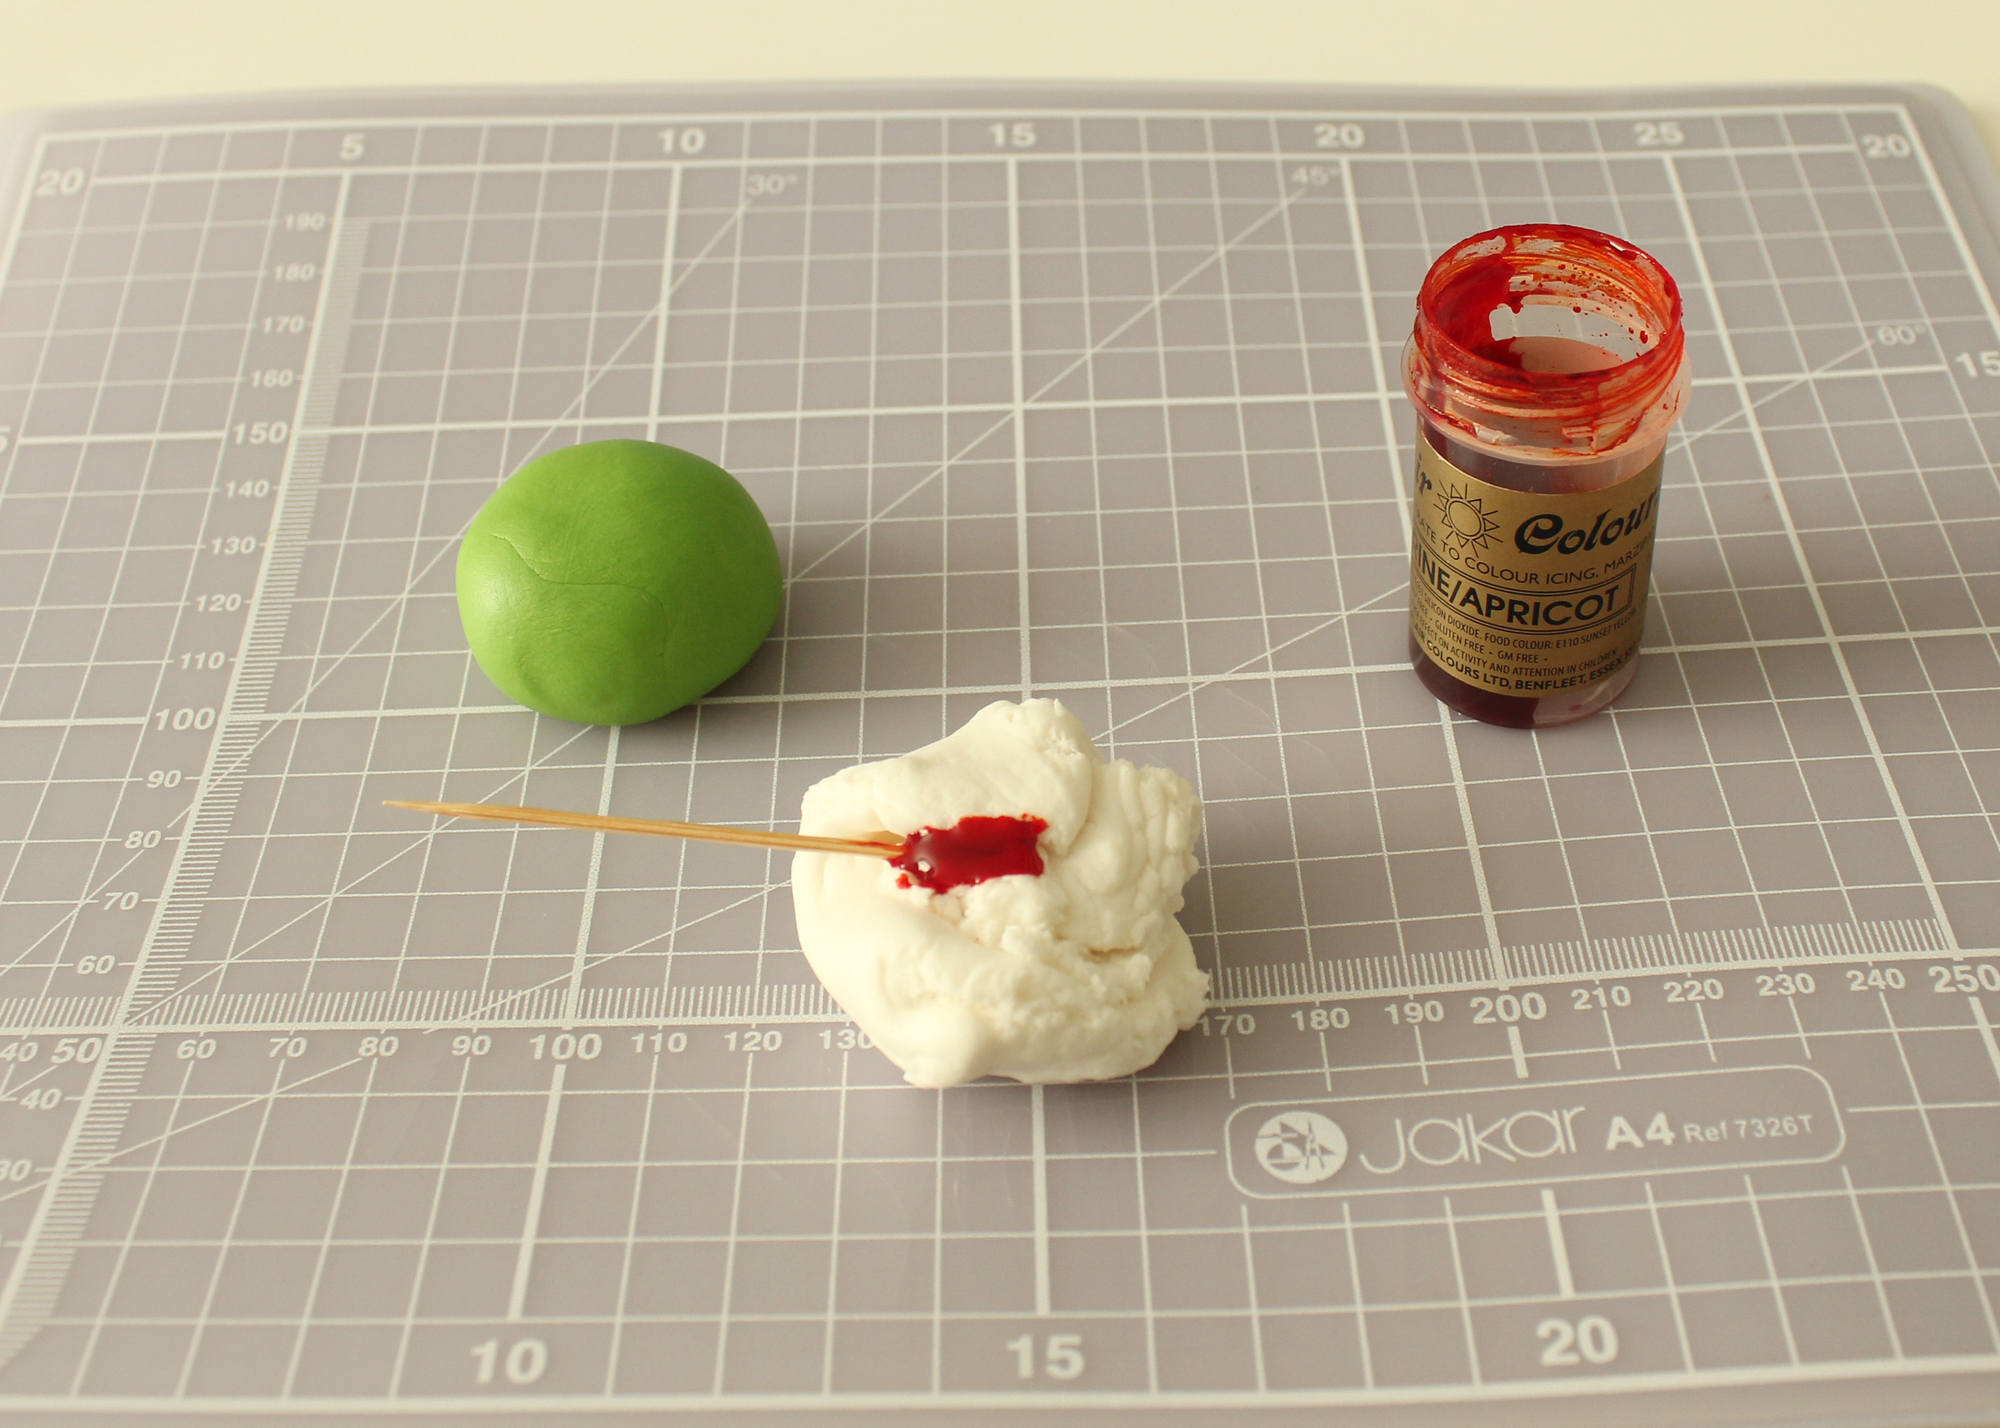
Dip a cocktail stick into food colouring and apply to the paste, kneading to mix thoroughly.
Step four:
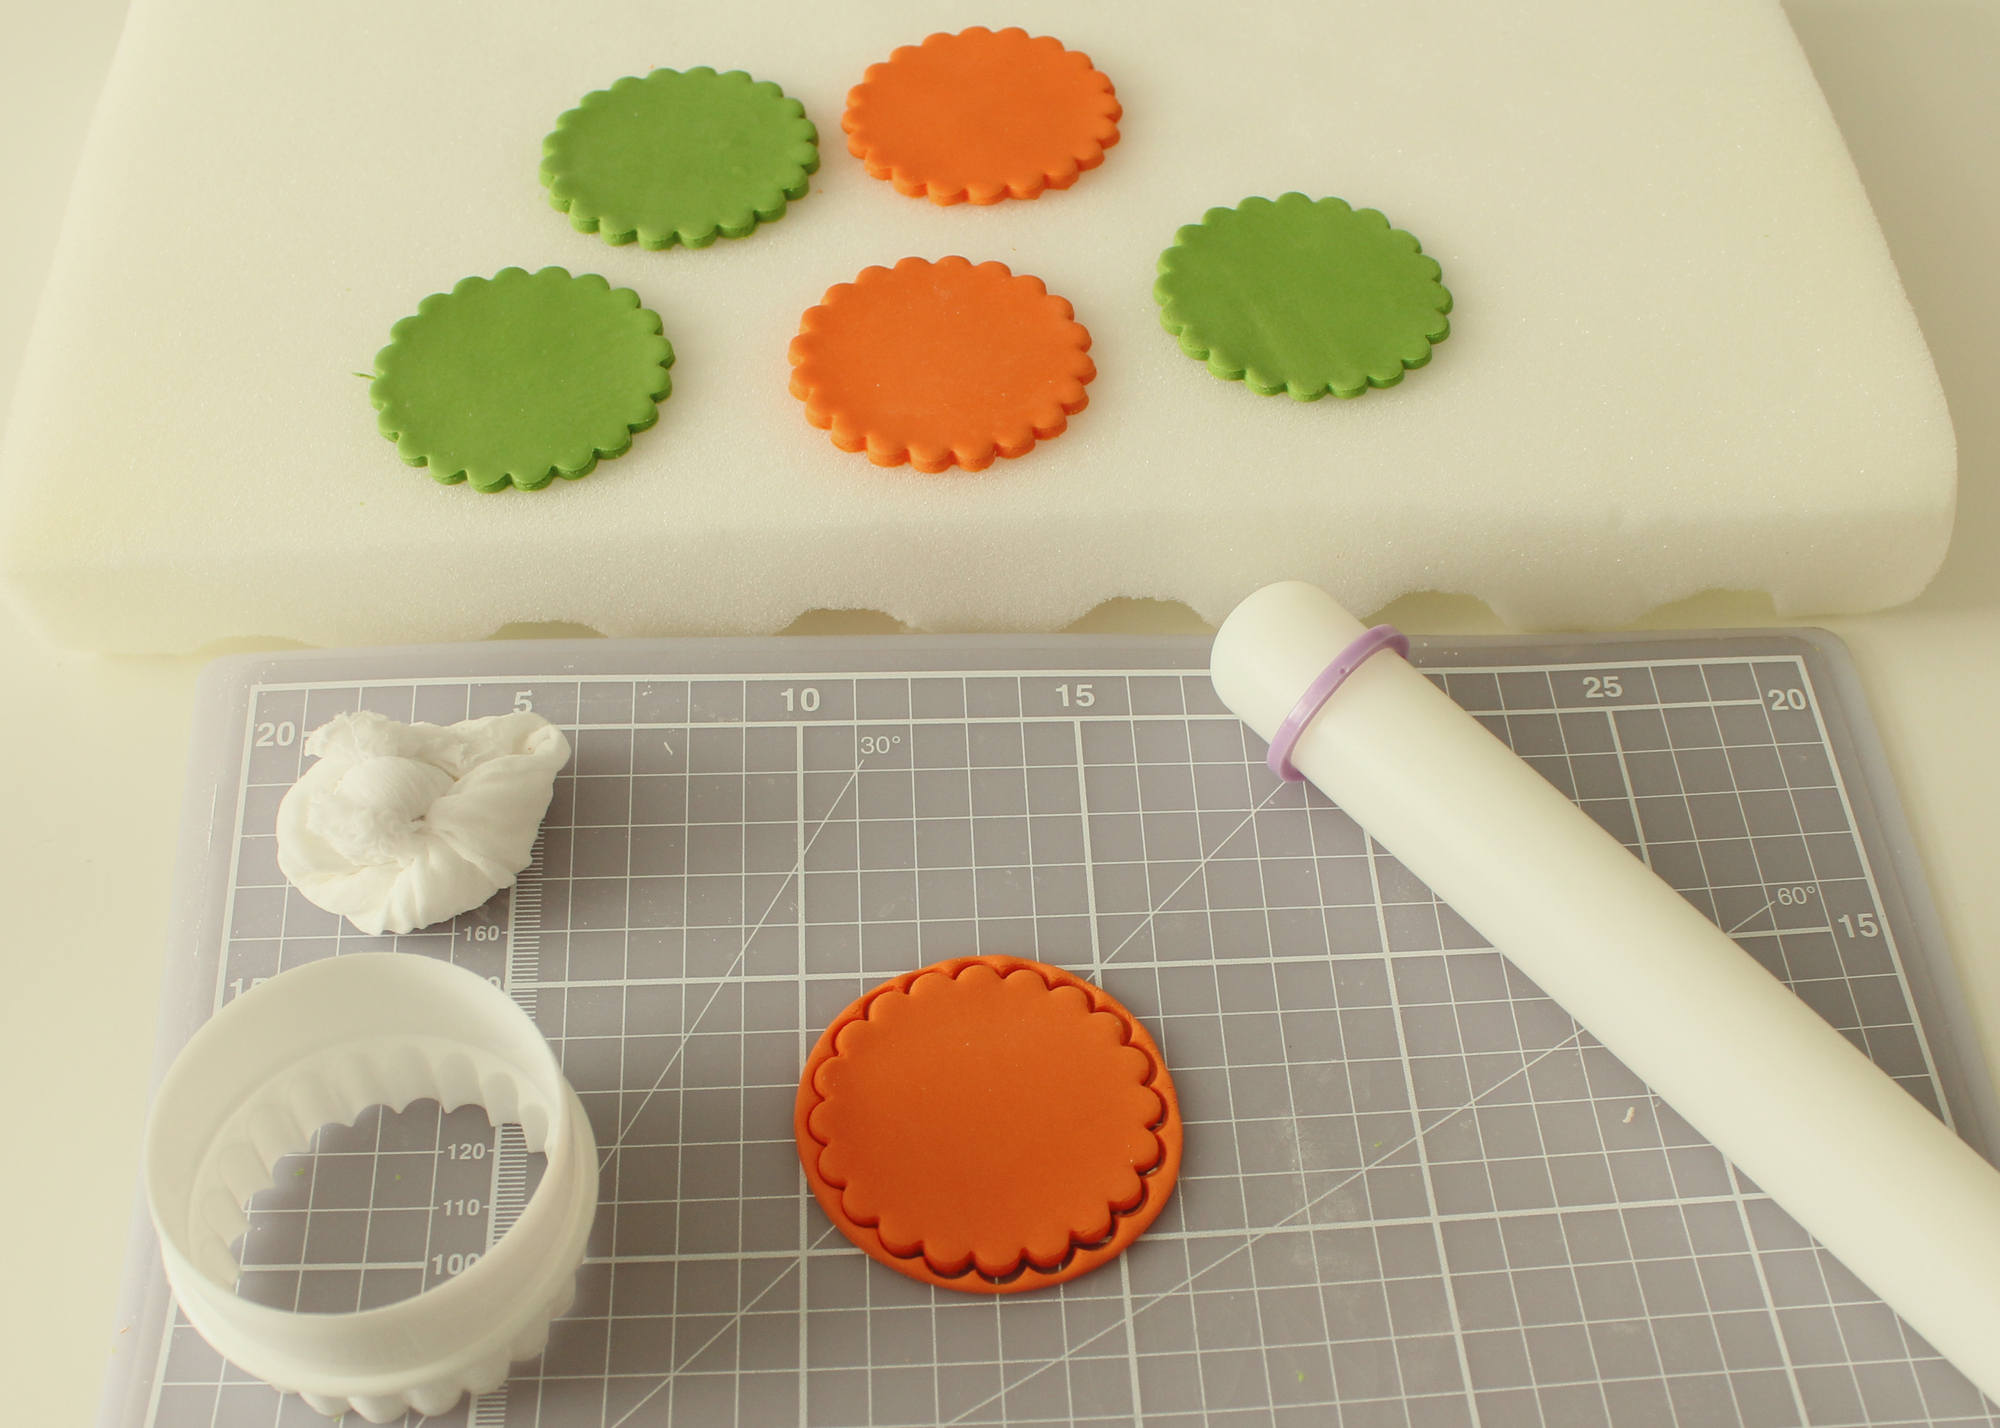
Using a rolling pin, flatten out the fondant and then cut out some circles and place to one side to set.
Step five:
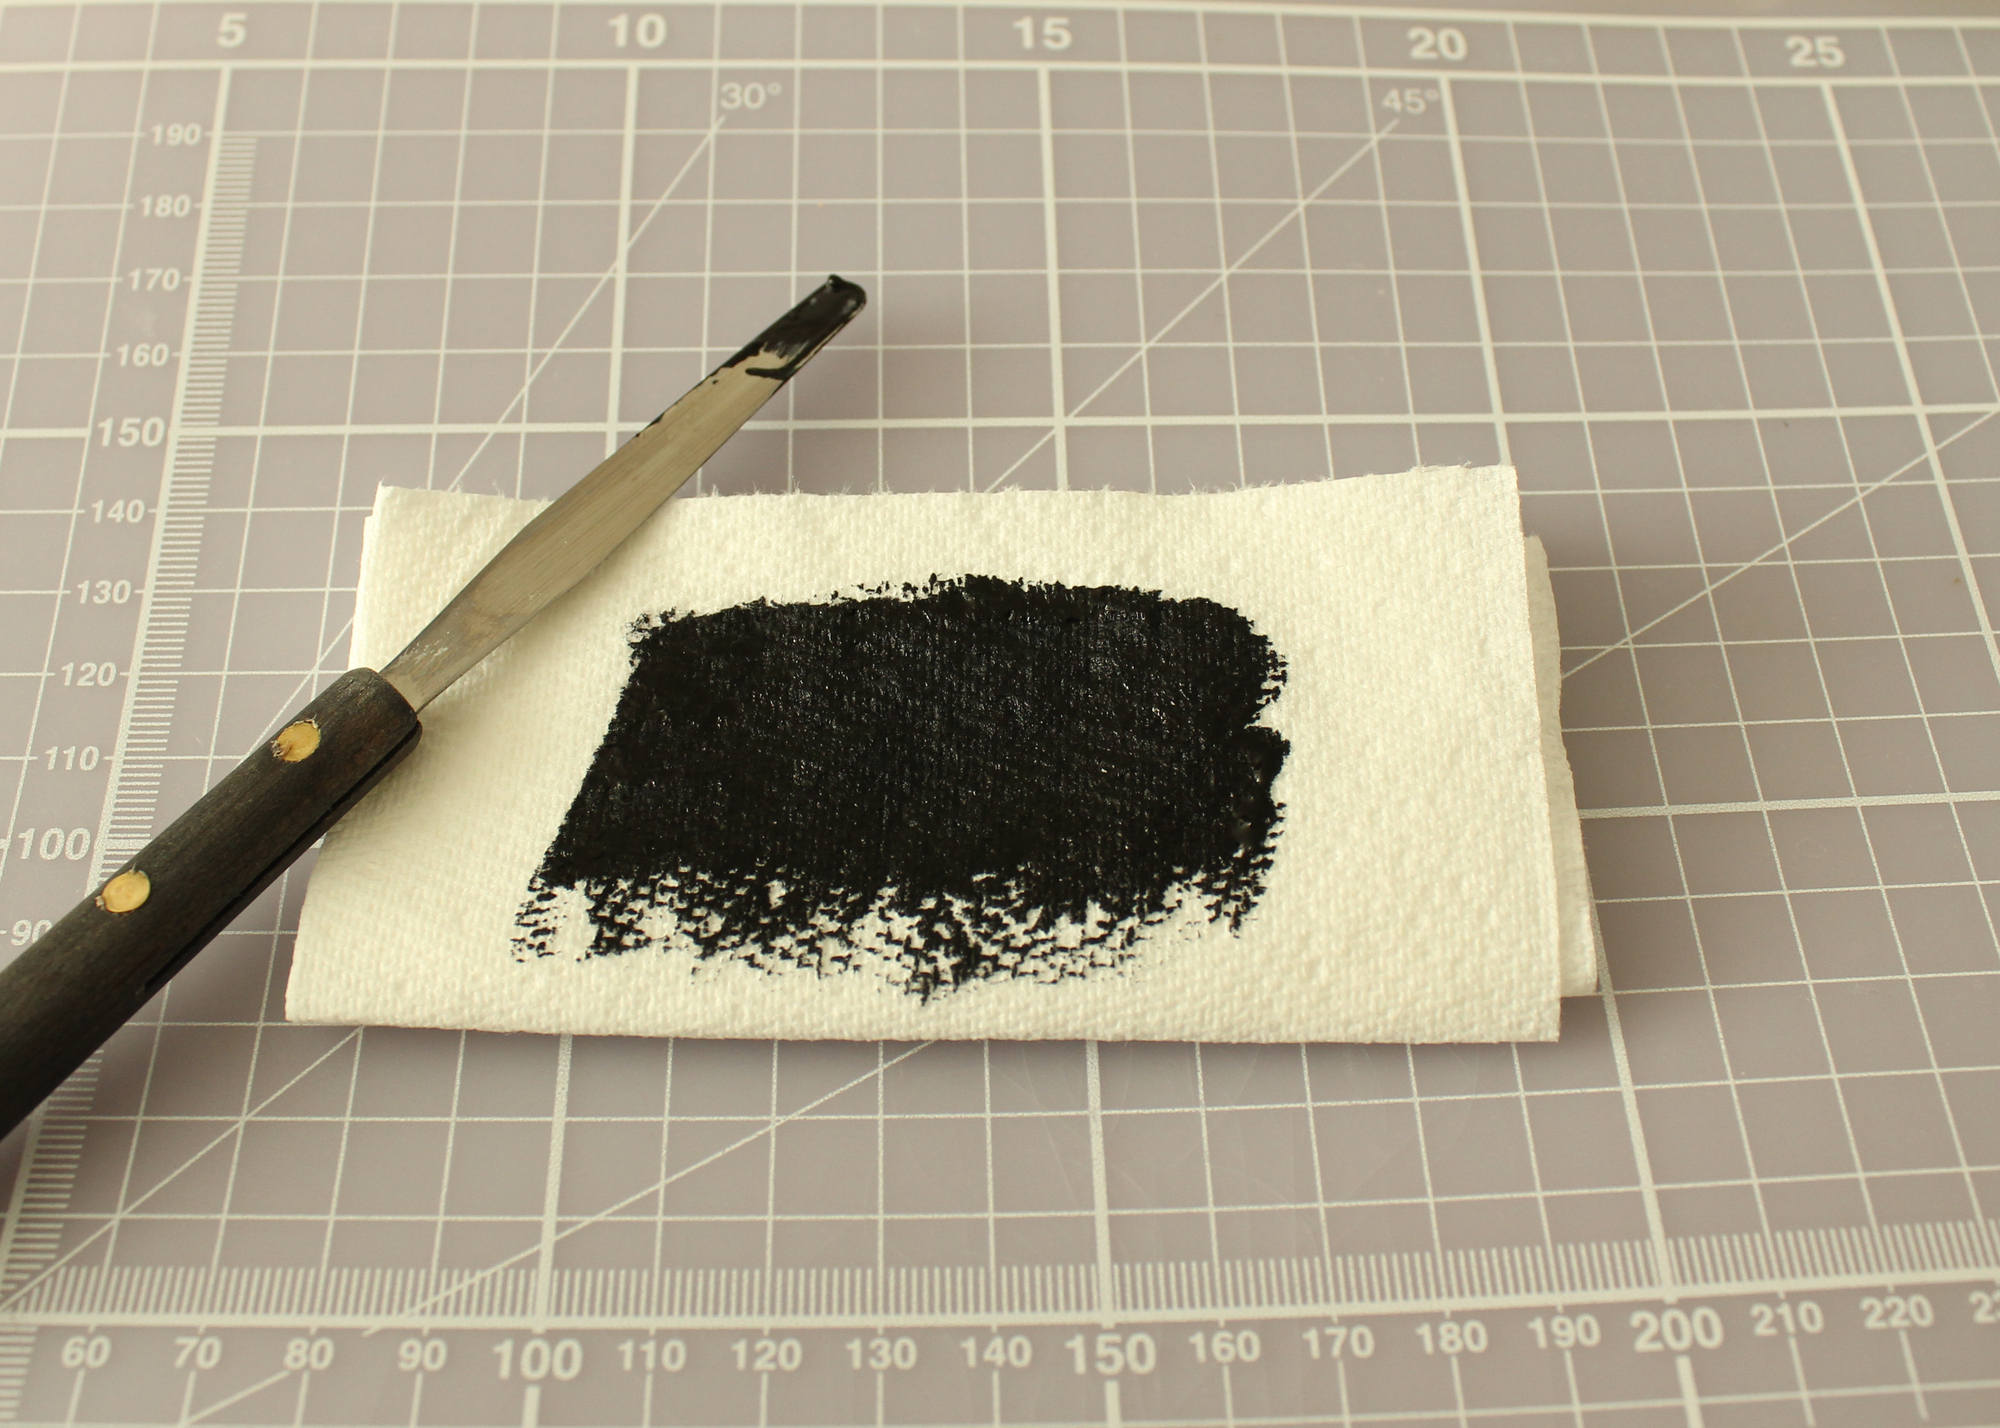
Spread some food colouring on to a kitchen towel using a pallet knife.
Step six:
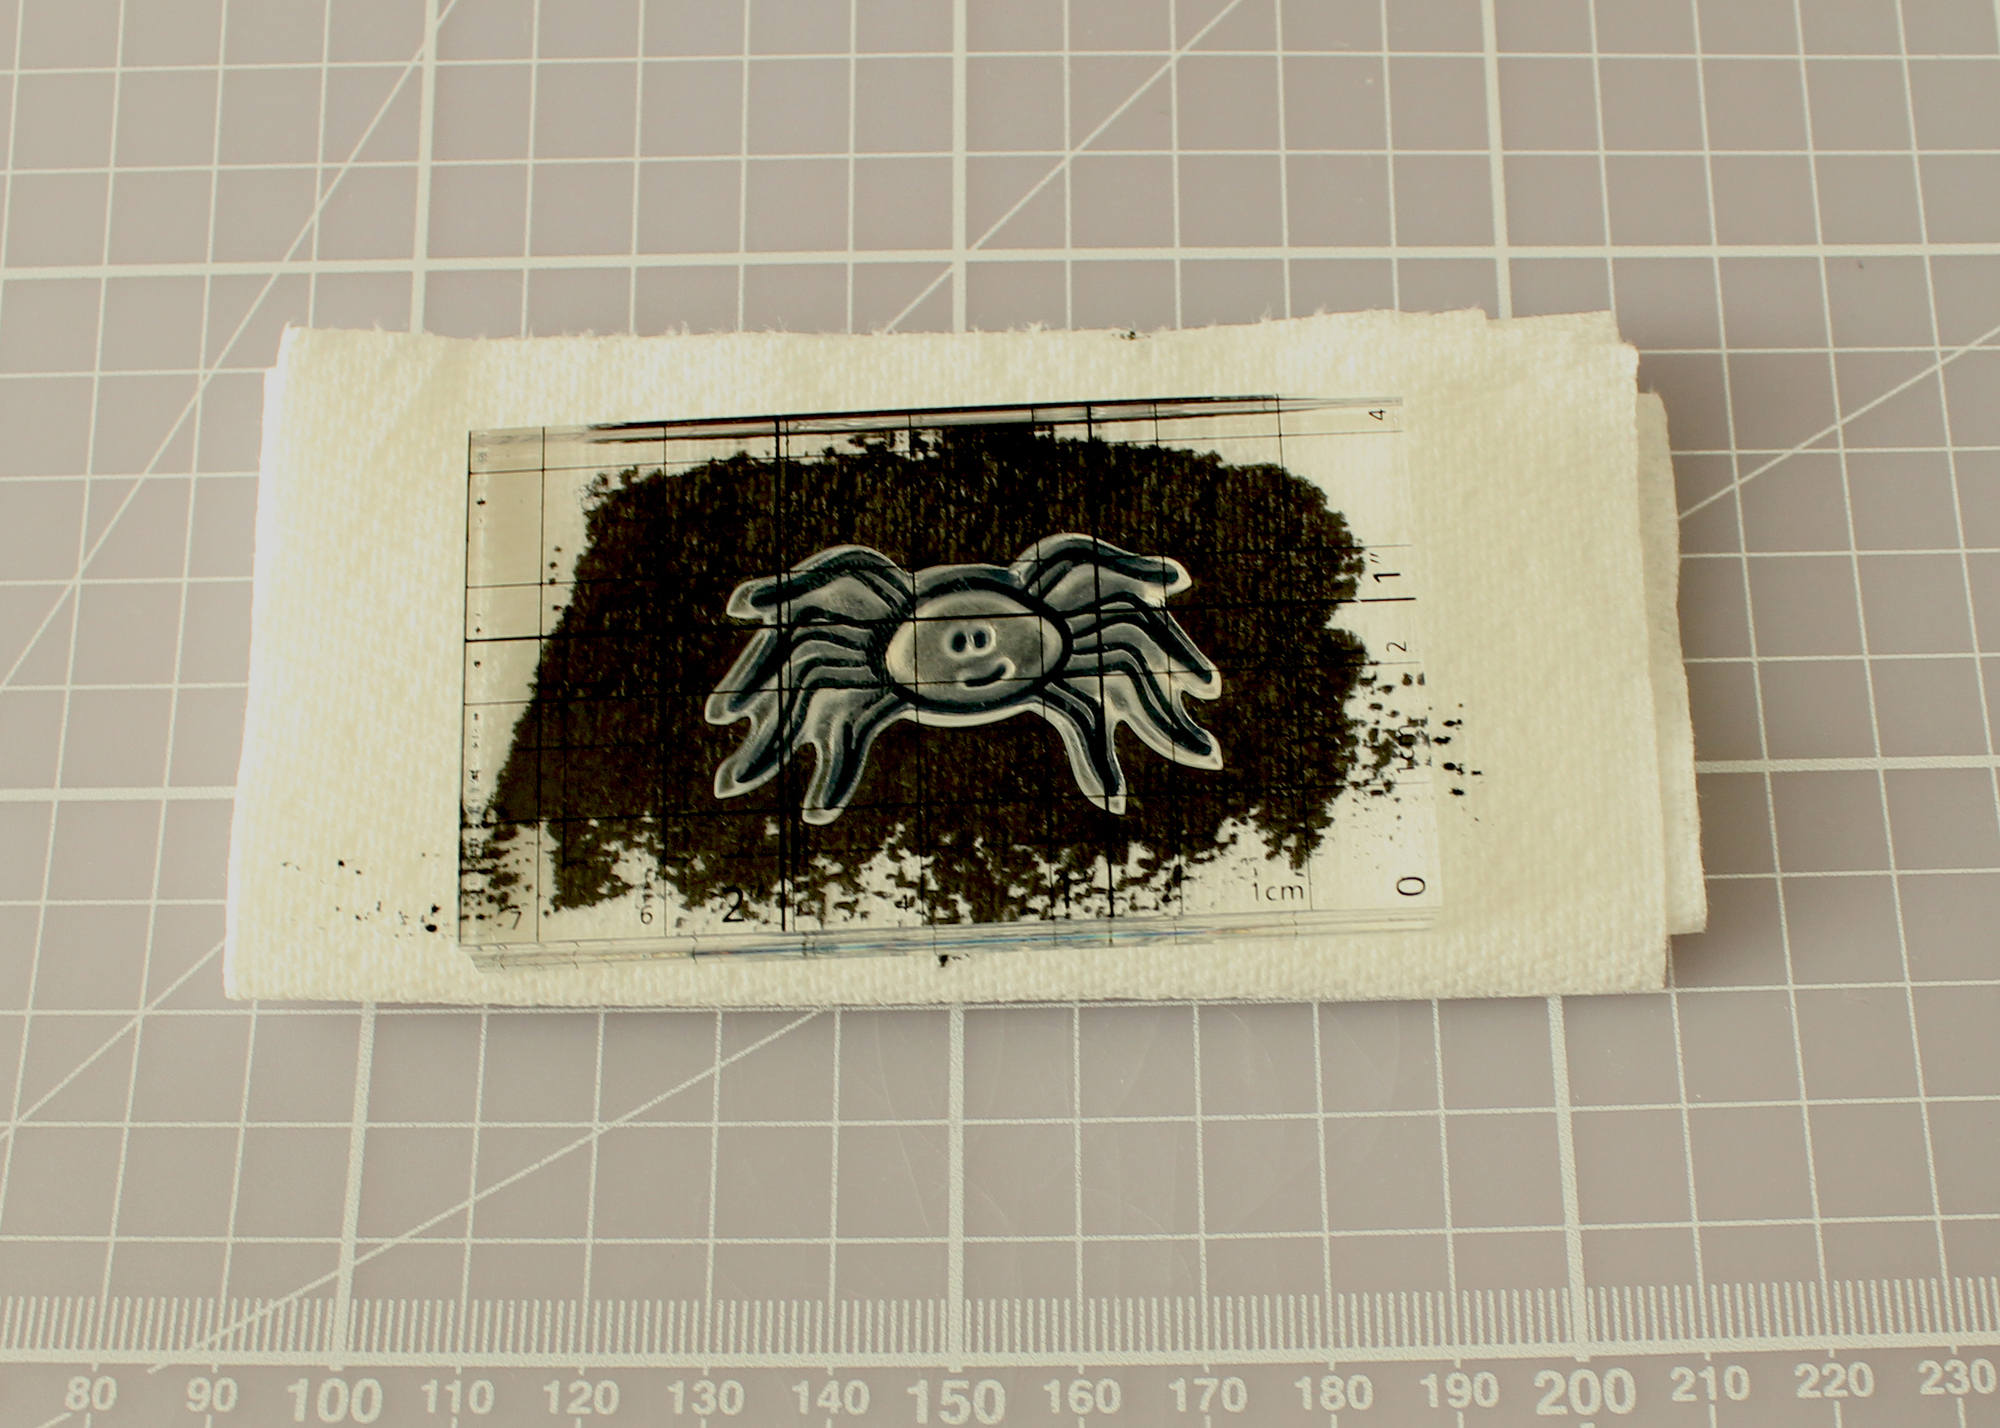
Take your desired stamp and press into the colouring, making sure the stamp is completely covered with the black paste.
Step seven:
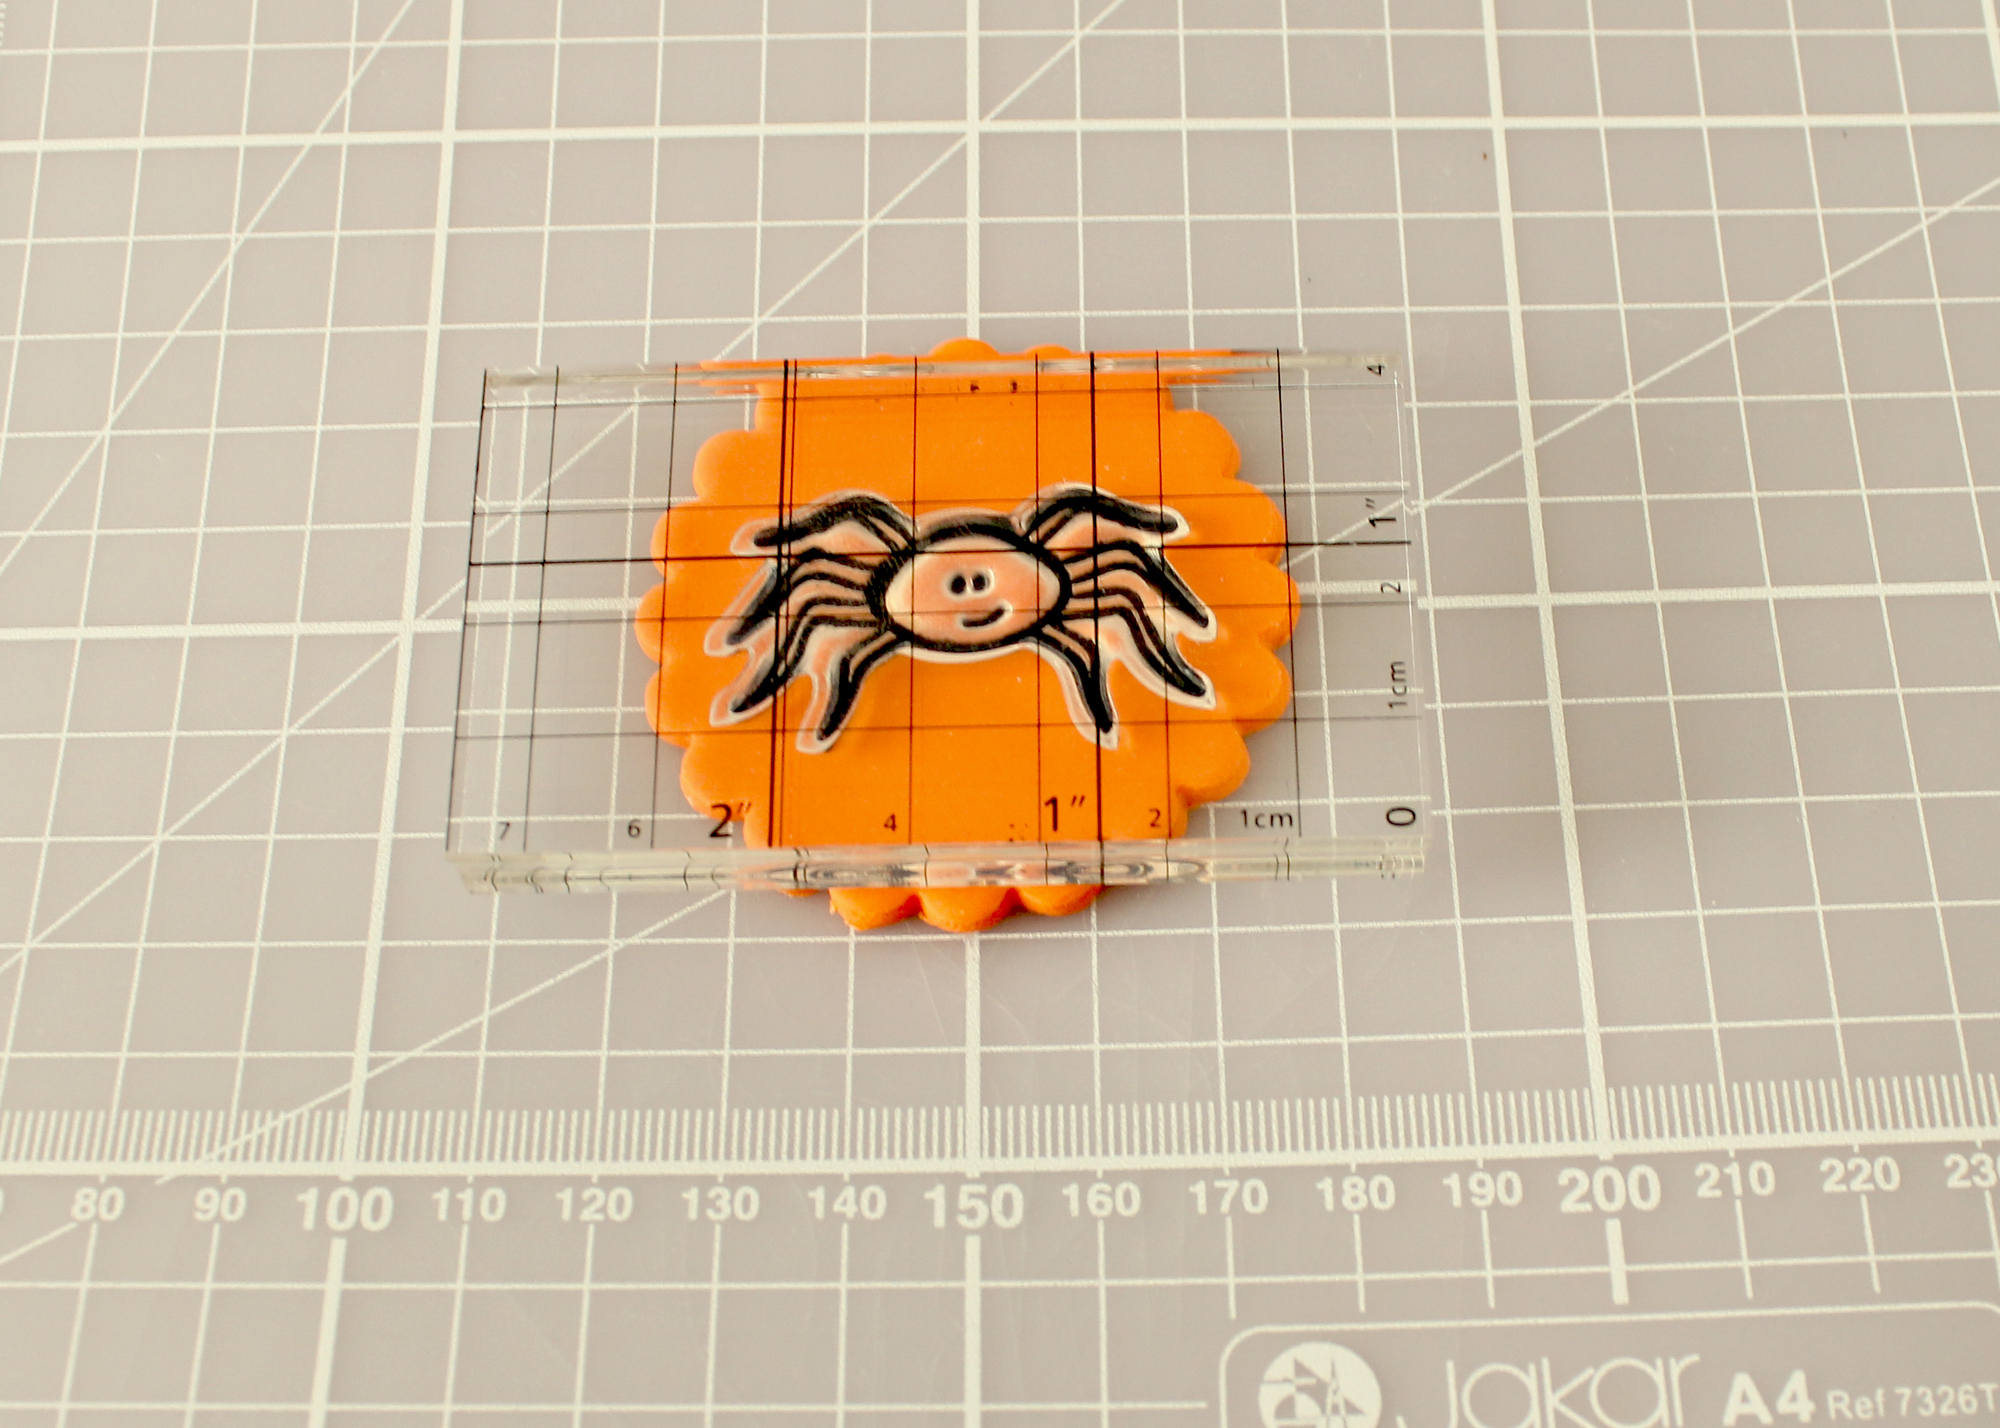
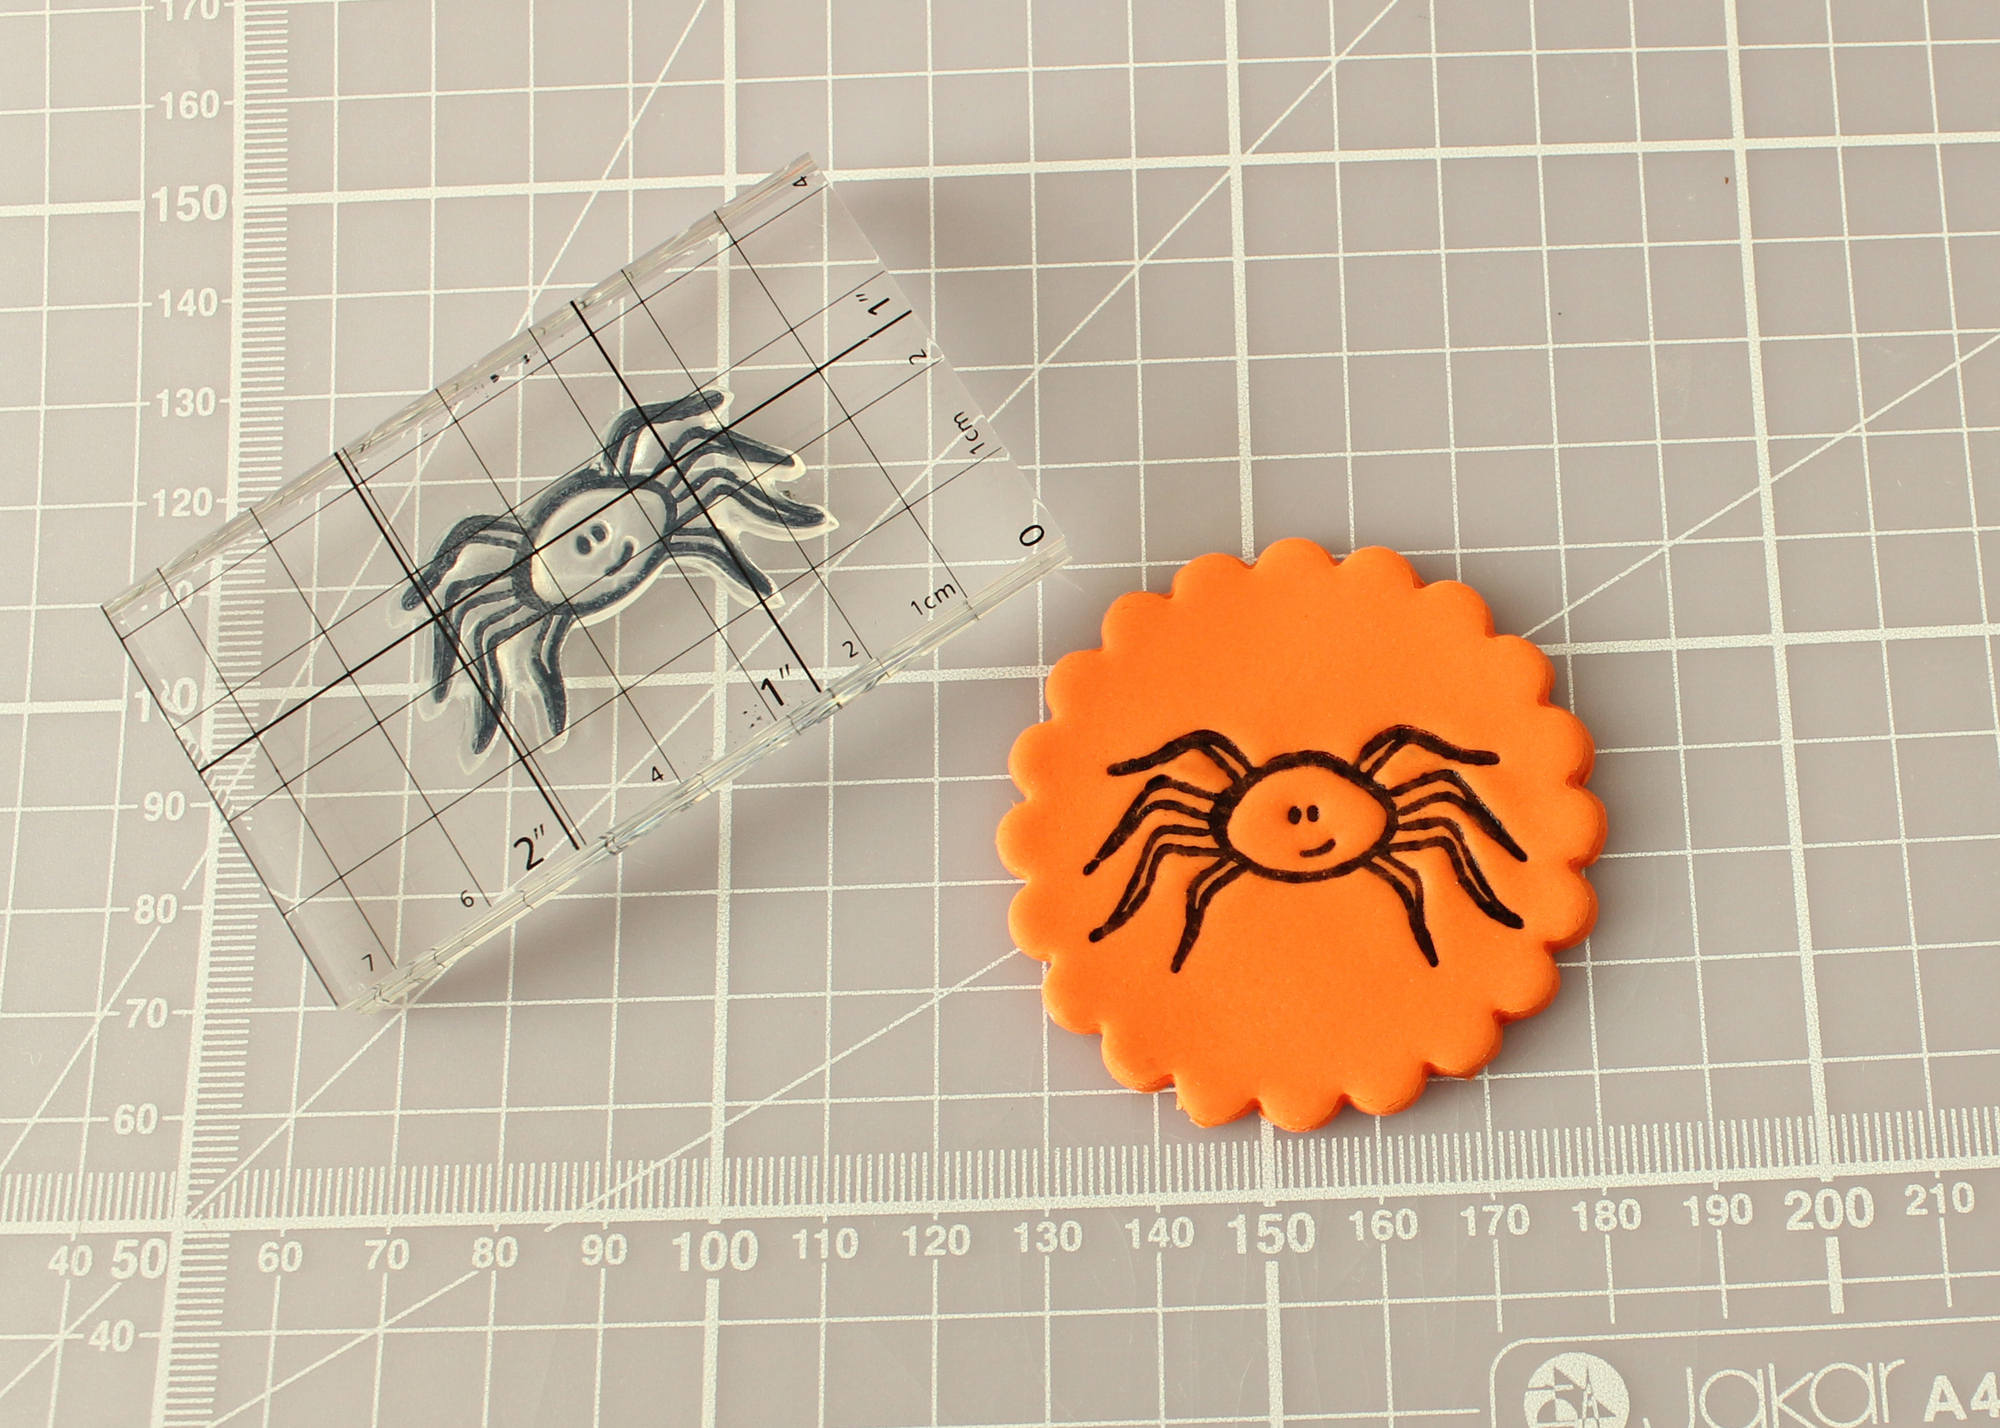
Place the stamp in the centre of the fondant circle and gently press, making sure you use even pressure.
Step eight:
Remove the stamp to see the image.
Step nine:
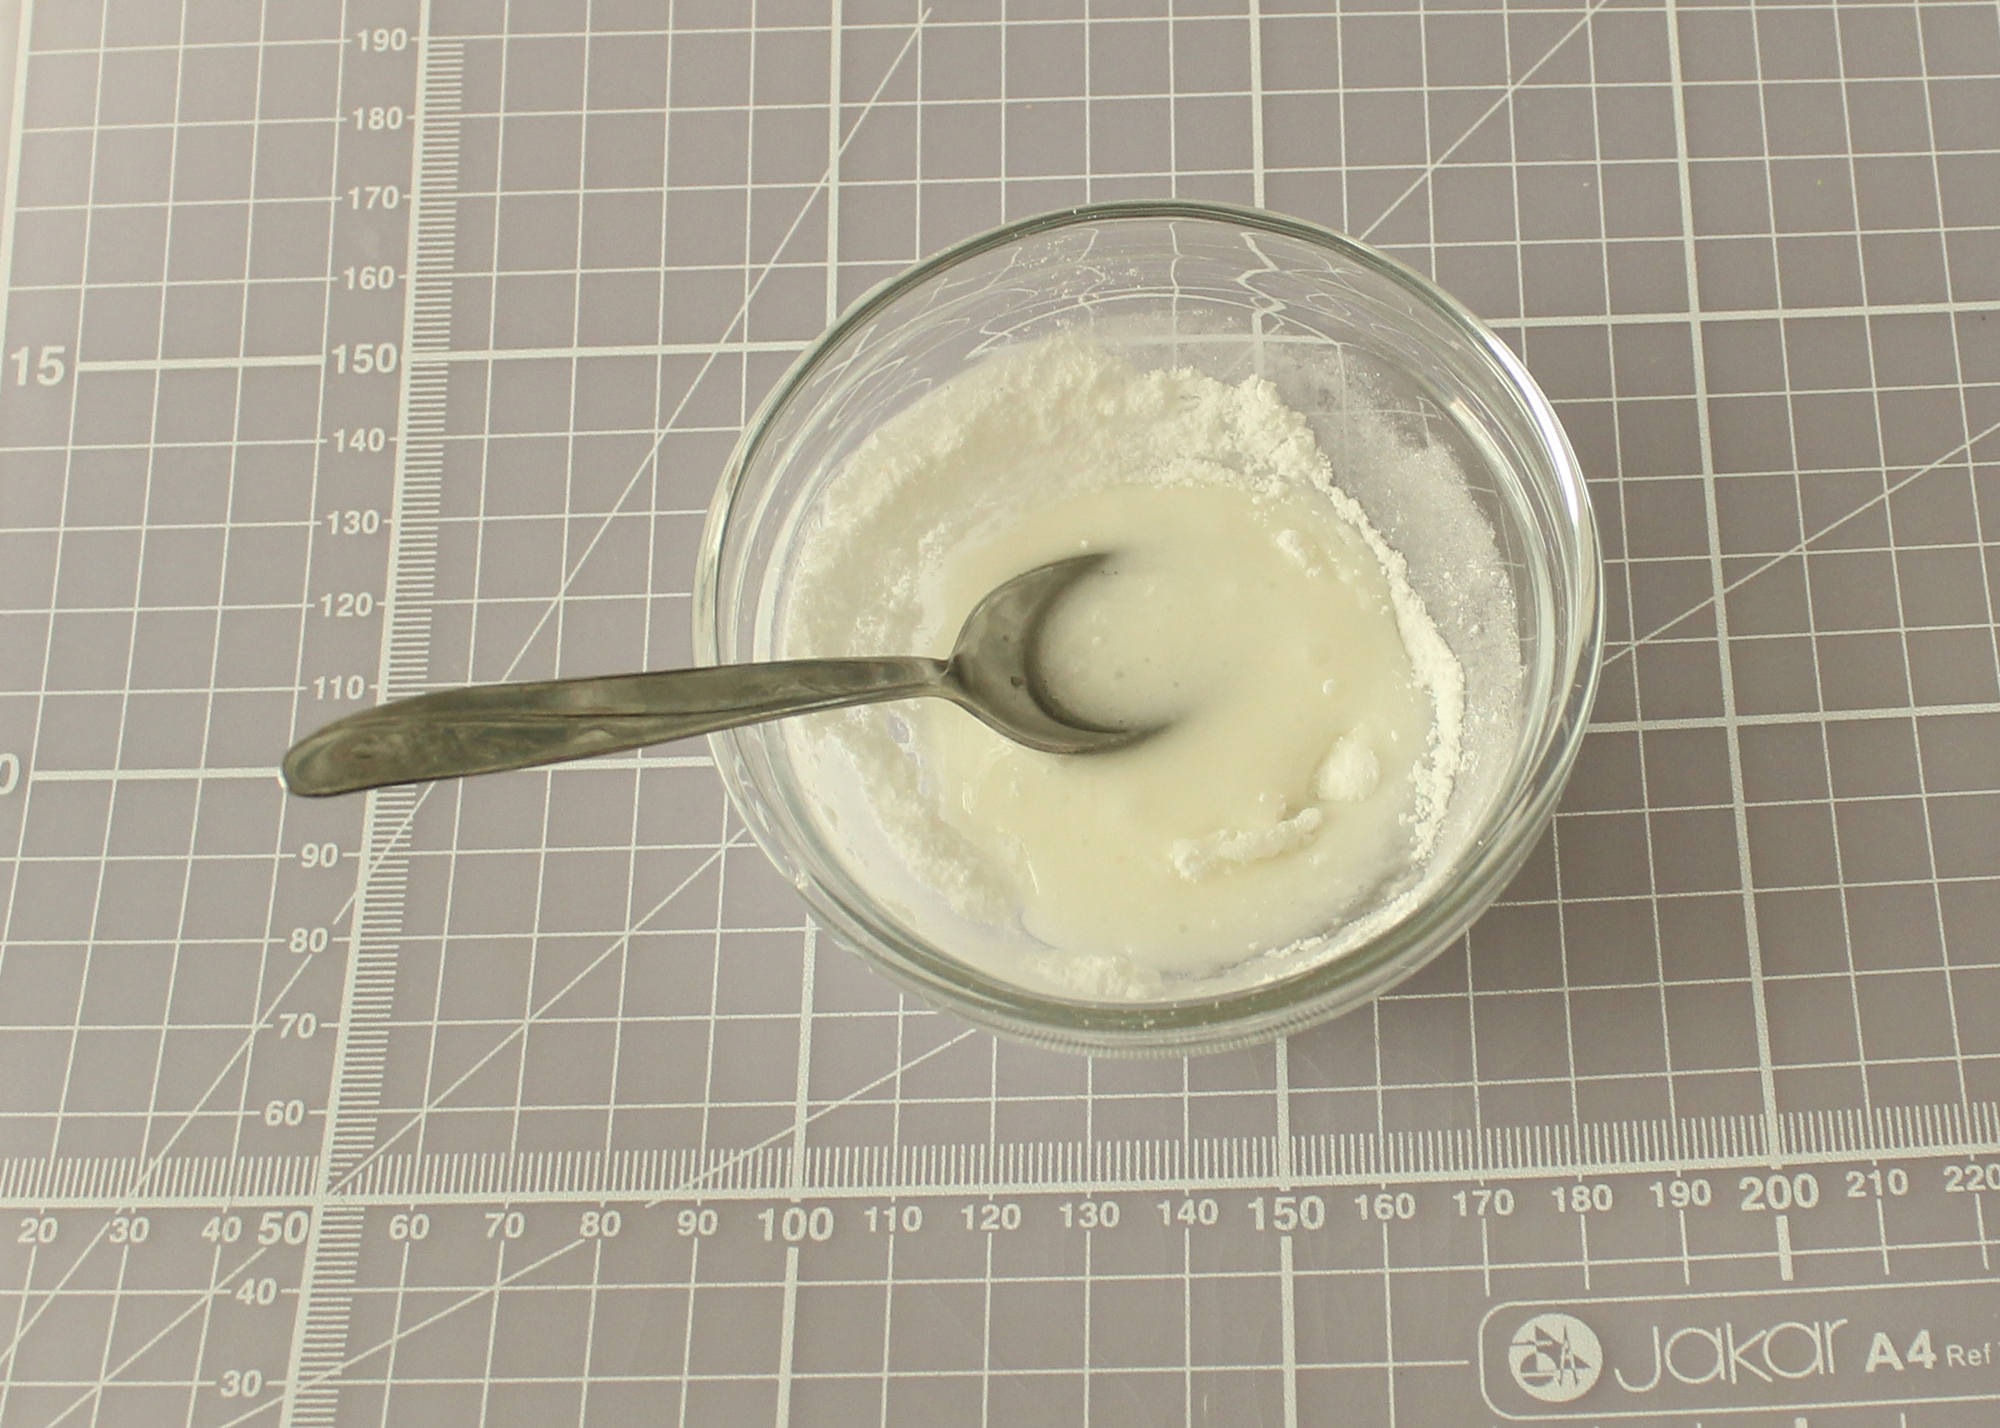
Mix some royal icing powder and water in a bowl and place to one side.
Step ten:
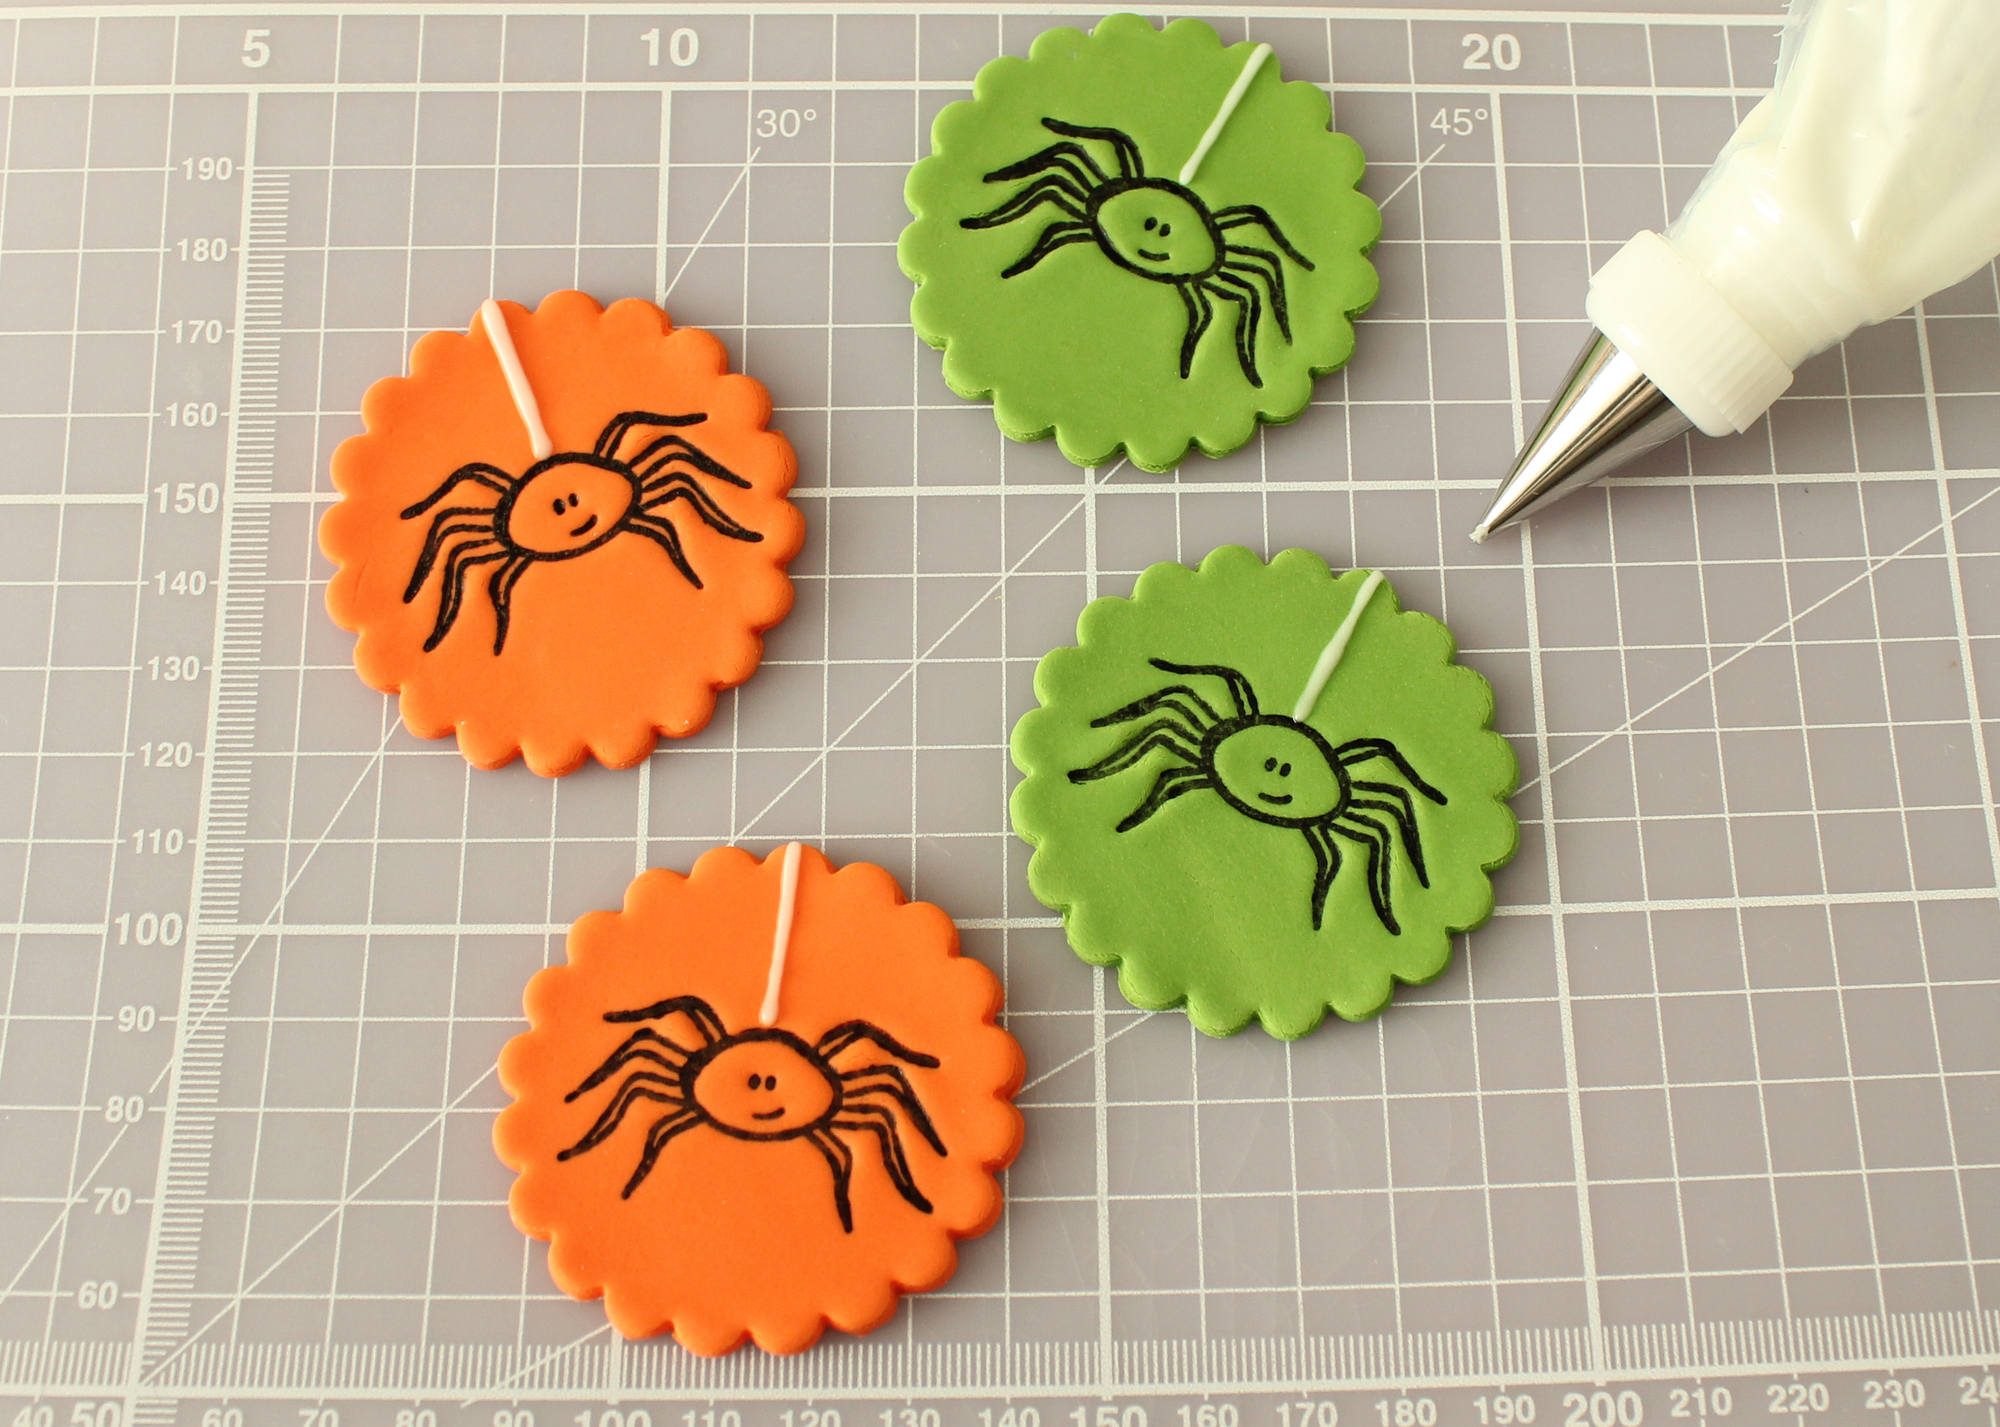
Pipe a single line of royal icing above the spider.
Step eleven:
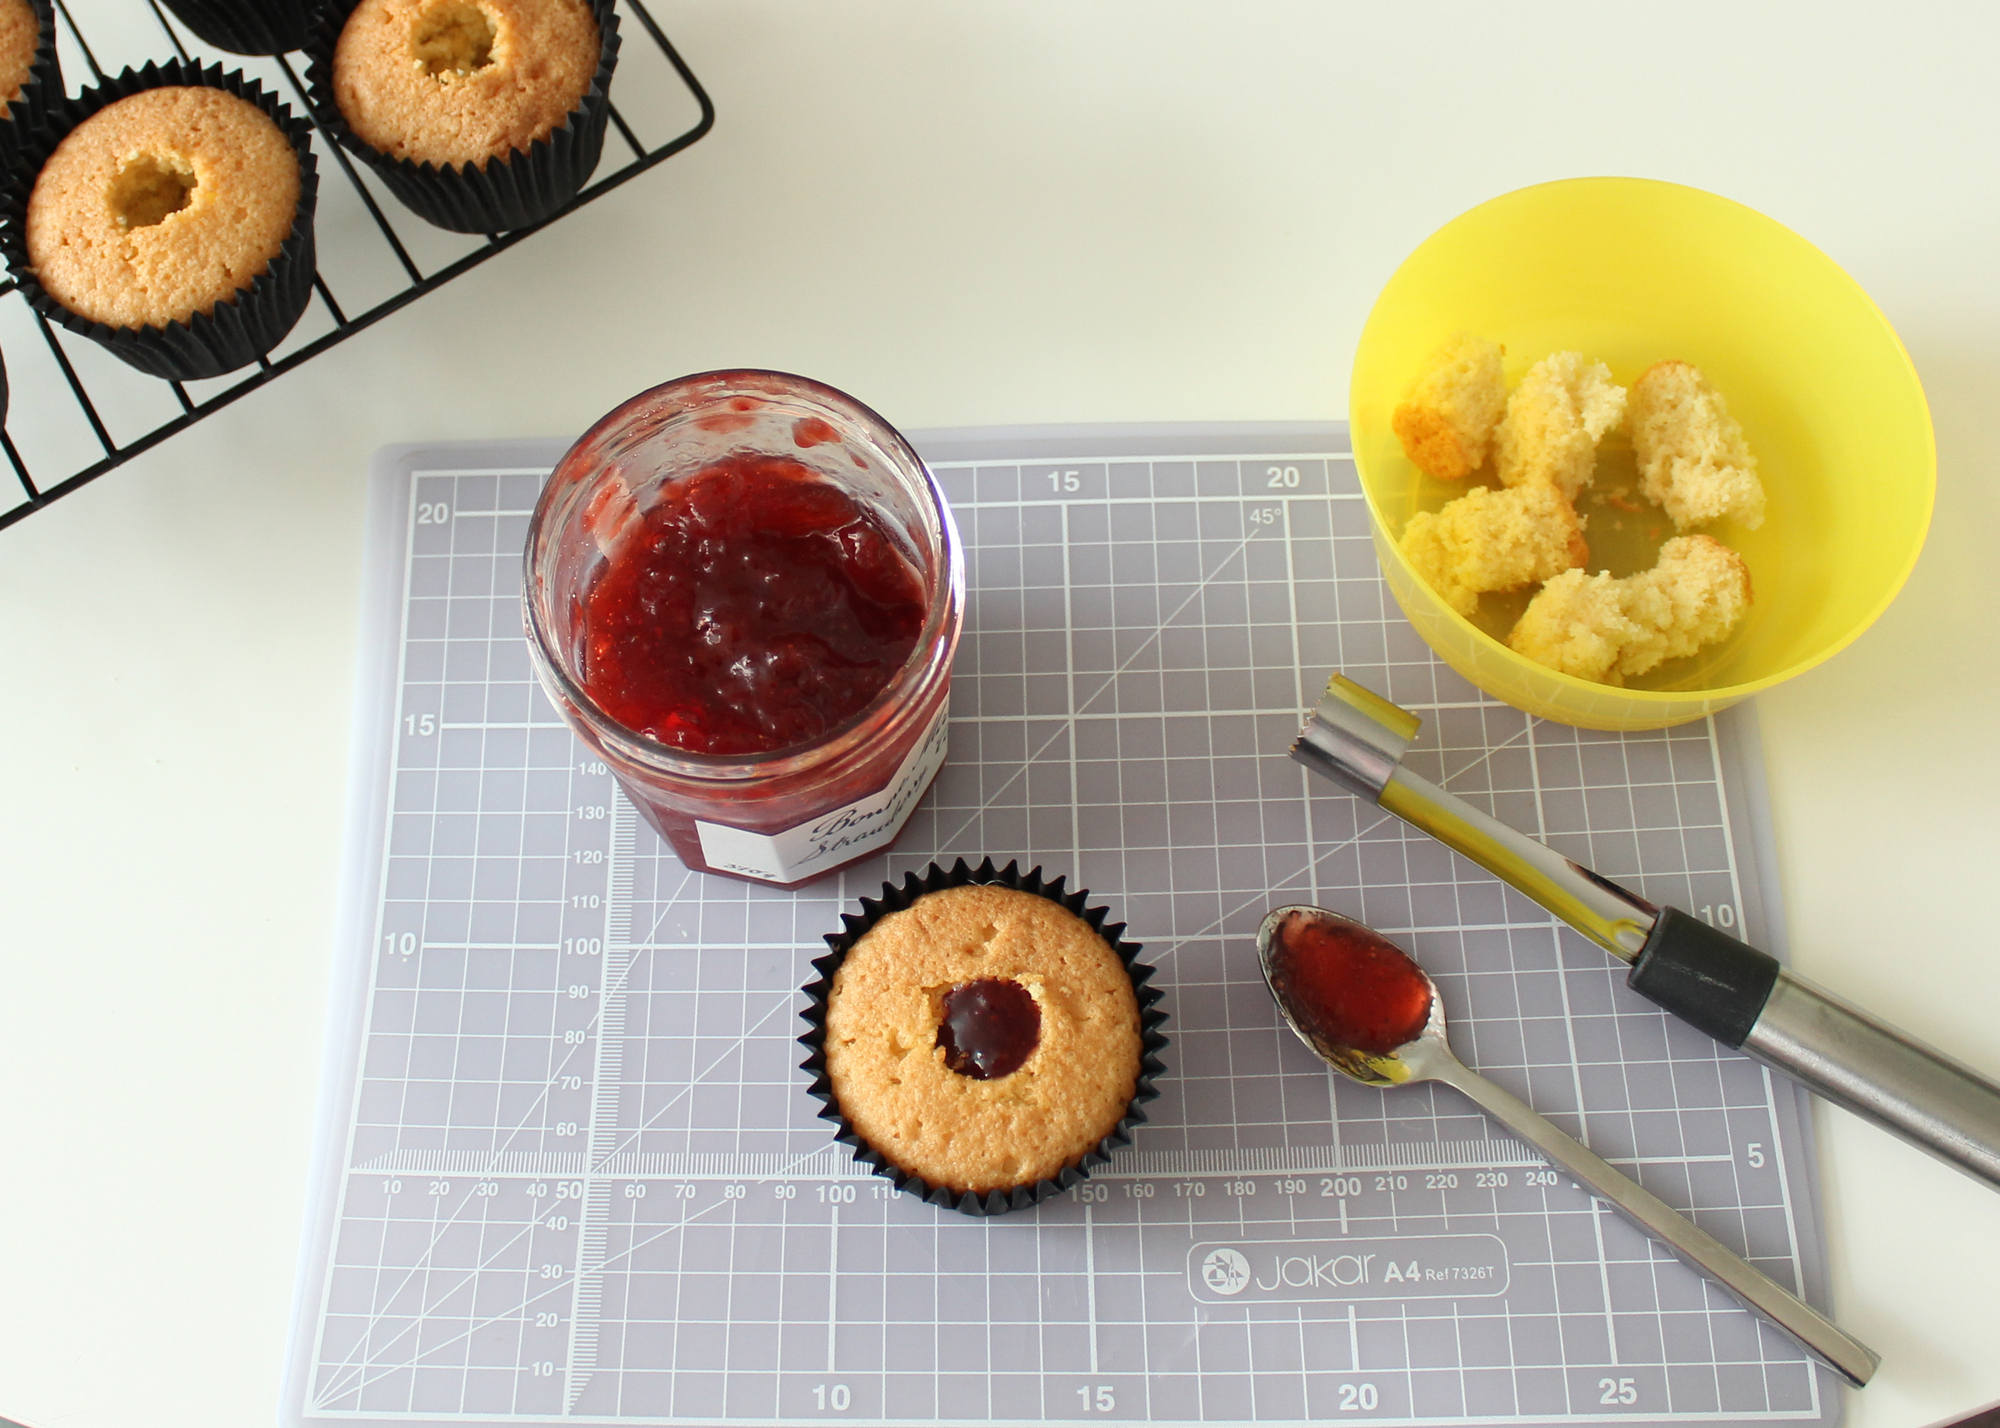
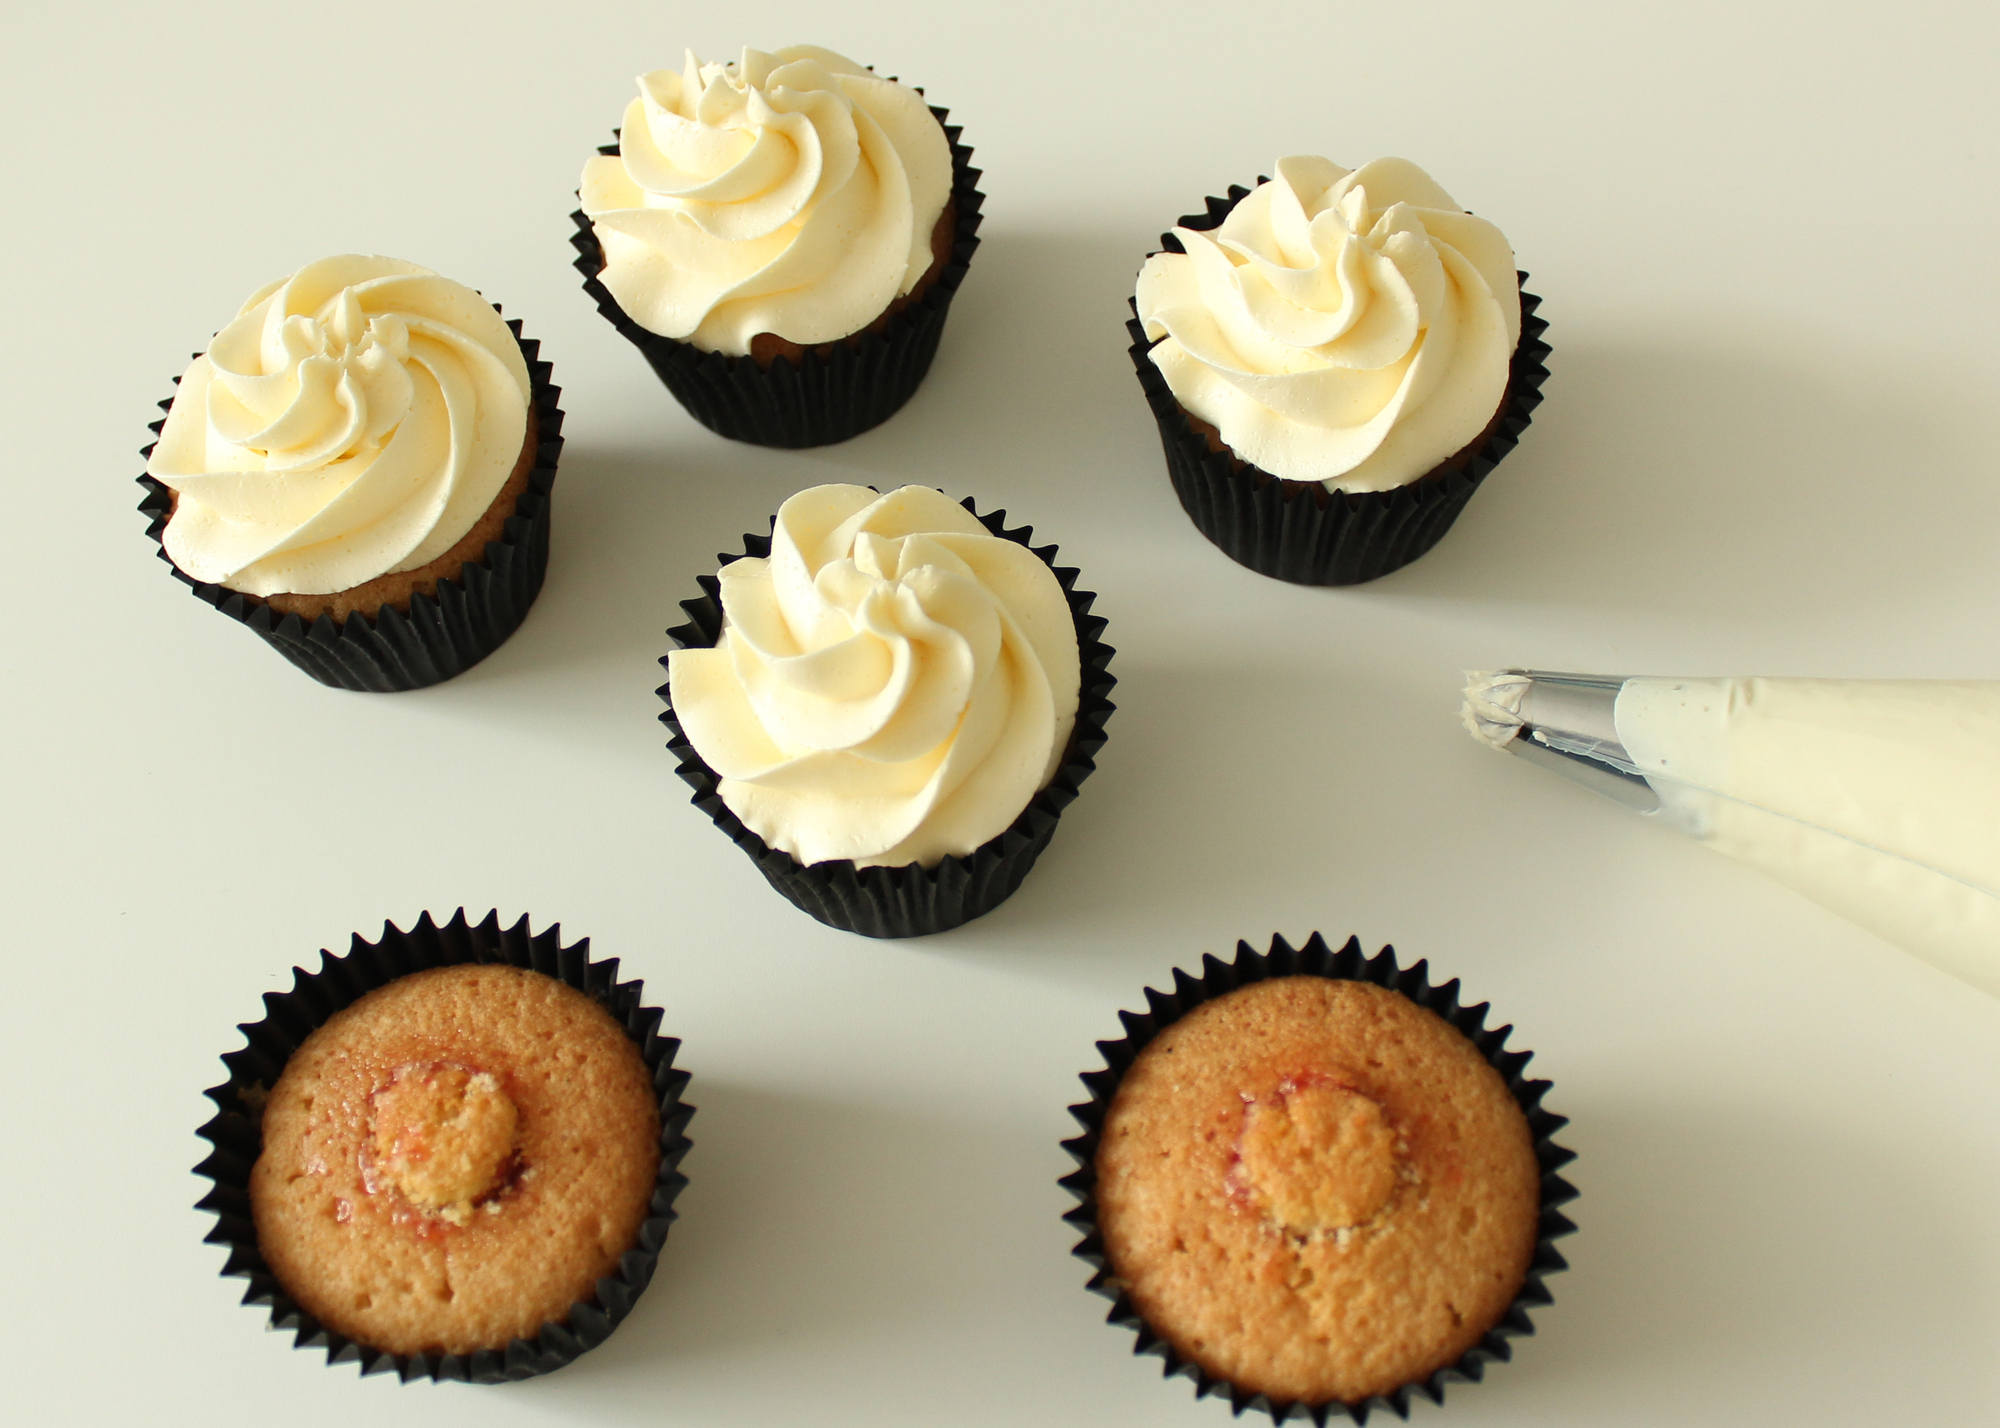
Cut a hole in the centre of the cupcakes and fill with jam.
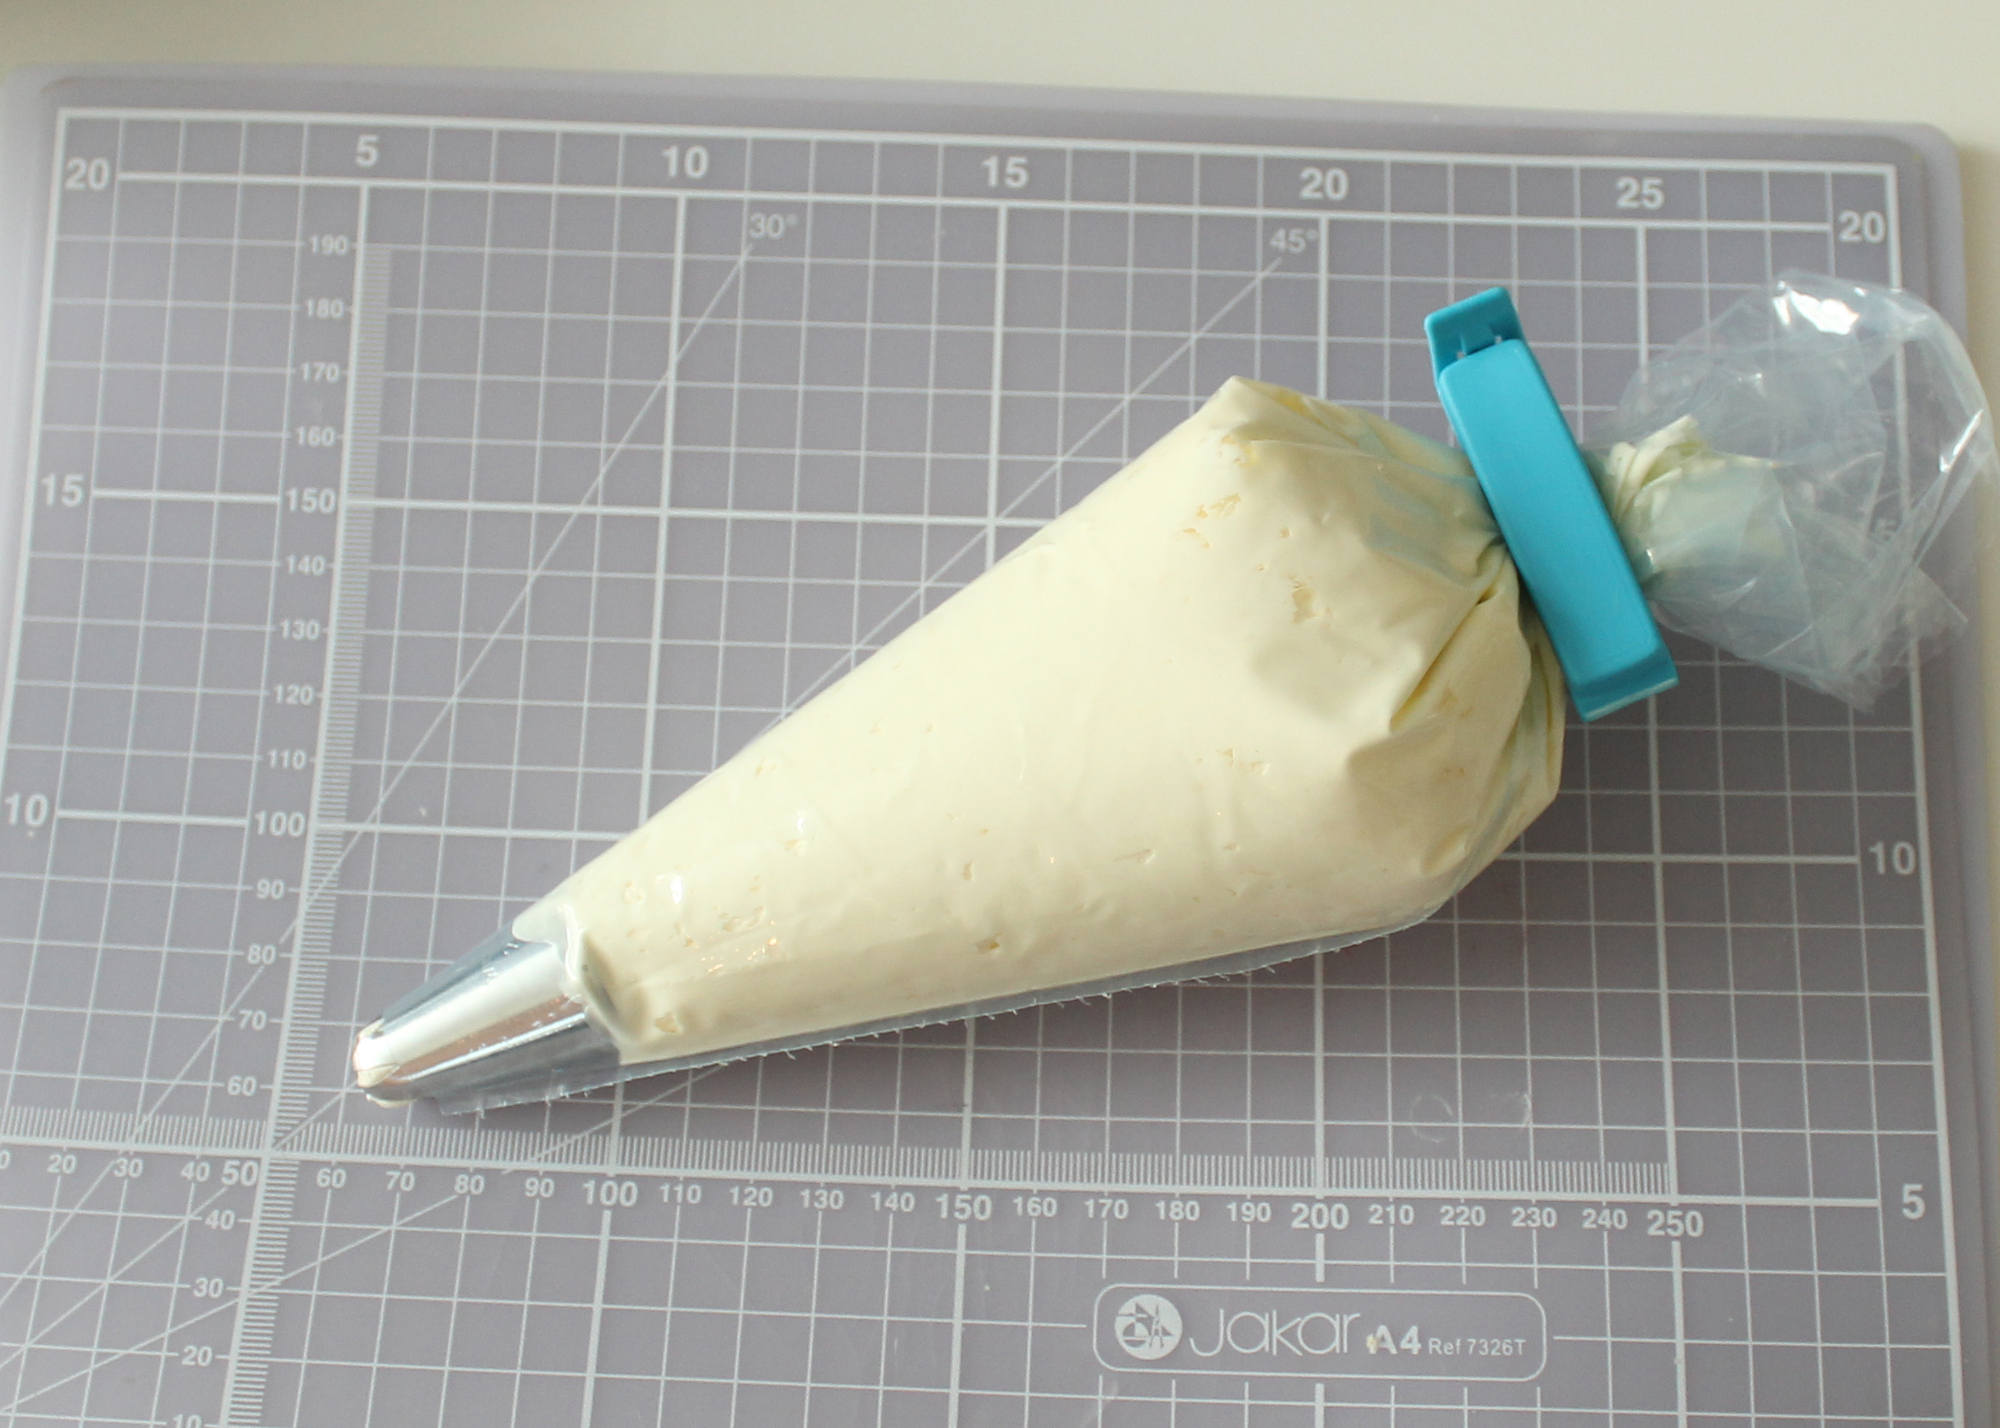
Step twelve:
Make some basic buttercream and fill a piping bag.
Step thirteen:
Create a swirl using an open star nozzle.
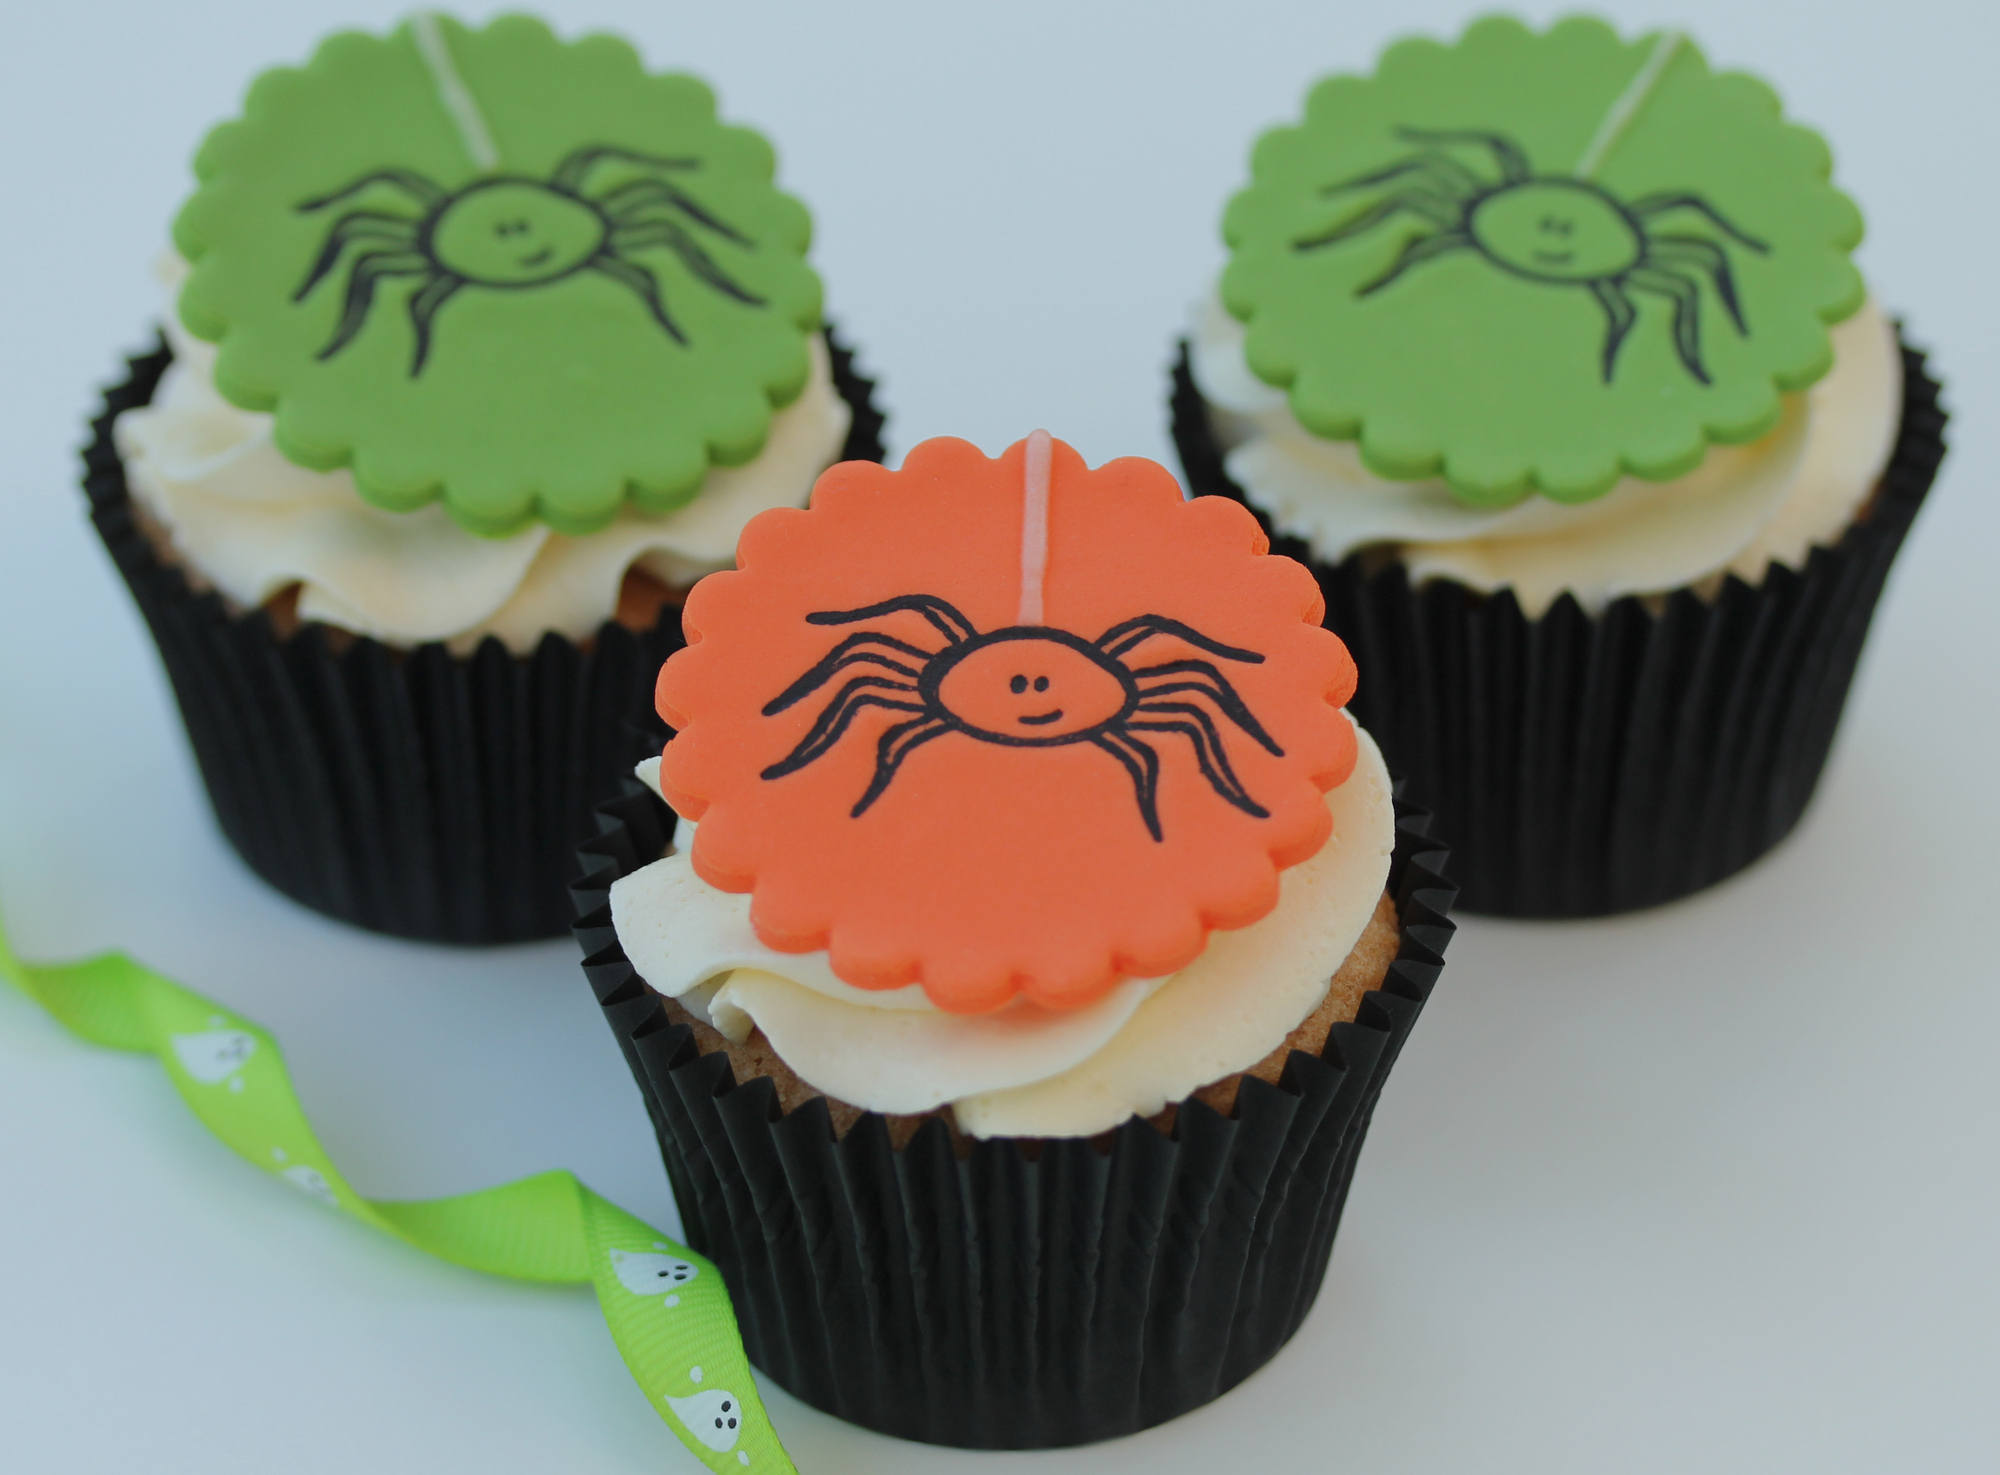
Step fourteen:
Place the decorated circle on top of the cup cake.
Step fifteen:
Finish off the presentation by packaging the Halloween cupcakes in our printed spider cupcake boxes.
