I am delighted that I am hosting day 6 of 12 Days of Baking Christmas created by Rebecca from Honeywell Bakes. Why not pop over to Rebecca's Facebook page and have a look at the other days, they really are wonderful and inspiring bakes.
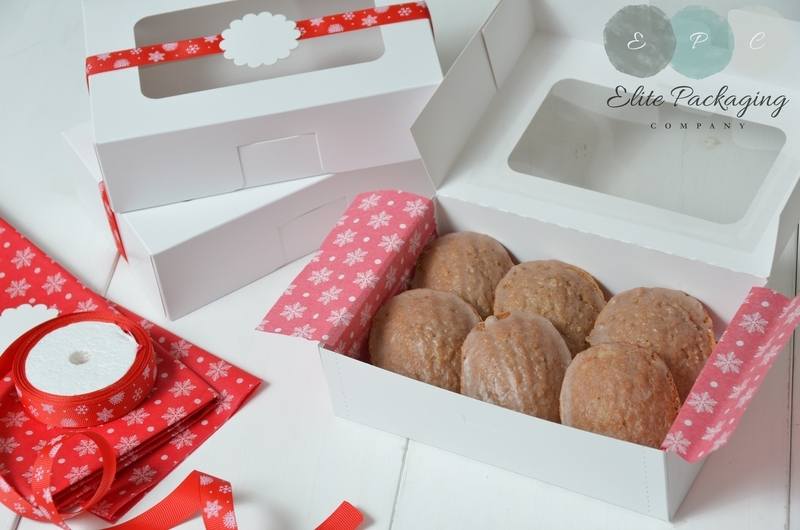
I will definitely be making these scenes myself, I am also thinking gifts for friends, teachers and grandparents. They are also the perfect size to fit in our packaging.
Happy Baking Christmas
Sharon x

What you will need:
½ batch of gingerbread dough to make approximately 10 3D scenes (or you can use ready made biscuits and just make the circles to stand them on)
Greaseproof paper
Large circle cookie cutter approximately 10cm diameter (or larger than the base of your other festive cookie cutters)
Festive cookie cutters
Royal Icing
Edible glitter (optional)
Gift packaging (if you’d like to give them away)
Gingerbread Recipe (adapted from Peggy Porschen’s gingerbread recipe)
210g light brown sugar
3 tablespoons treacle
3 tablespoons golden syrup
5 tablespoons water
3 tablespoons powdered ginger
3 tablespoons powdered cinnamon
250g diced butter
600g plain flour
1 teaspoon bicarbonate of soda
Method:
1. Put the sugar, treacle, syrup, water, and spices into a saucepan and heat, stirring, until it comes to the boil. Remove from the heat and stir in the butter until well combined. Add the bicarbonate of soda and stir though. Leave to cool.
2. Mix in the flour to form a dough, then wrap in cling film and refrigerate for an hour.
3. Roll out the dough between two pieces of greaseproof paper to about 0.5cm thick. Cut out the shapes using the cookie cutters, making sure you have a large round biscuit to every two smaller biscuits.
4. Place on a baking tray lined with greaseproof paper and pop in the fridge for 30 minutes or the freezer for 10 minutes. If you skip this step your biscuits will grow in the oven.
5. Bake at 180C for approximately 10 minutes – the smaller biscuits will bake more quickly than the larger ones.
6. Make royal icing following the recipe below. Decorate your shaped biscuits using the royal icing and leave to set – or skip this step if you are using ready made biscuits. Cover the icing with a clean damp cloth and then with cling film to stop it from hardening while you wait for the icing to dry (overnight is best to make sure it’s completely set).
7.Using a flat knife, spread a thick layer of royal icing on to the round biscuits for the base of the 3D scene. The icing will need to be thick so that the biscuits stand up in it.
8. Carefully place the biscuits into the icing ‘snow’, holding them in place until the icing sets a little. Sprinkle with a little edible glitter if you wish. Allow to harden overnight.
9. The scenes will keep for a month in an airtight tin. They make lovely gifts presented in gift packaging, and will keep this way for about a week.
Royal Icing Recipe:
500 g icing sugar
5ml egg whites (from approximately 2 eggs)
1 teaspoon of glycerine (optional – it adds a sheen)
A little water or lemon juice
Method:
1. Mix the ingredients together using an electric whisk. The icing will form peaks when you lift the whisk from it.
2. This very stiff icing will be perfect to hold your biscuits in place on the round gingerbread base.
3. If you’d like to decorate your biscuits using the icing, add lemon juice or water, a little at a time, until the consistency resembles toothpaste. Wrestle into a piping bag or bottle, and use to draw patterns on the biscuits.
4. If you’d like to fill in parts of the biscuit with white icing, first pipe a shape with your stiff piping icing to make a damn and leave for 5 minutes to harden. Then, water down a bit of icing with water or lemon juice until it is runny. It should be the consistency of syrup – if you drop a bit onto a surface it should hold a little shape but there should be no lumps or bumps in it.
Suppliers: Gift Packaging from the Elite Packaging Company


Packaging and ribbon seen in the photographs can be purchased from our shop.
Happy Baking Christmas
Sharon x


